Introduction
Welcome to the Societify documentation. Societify is a comprehensive Multi-Tenant SaaS Platform for Society Management, designed to streamline operations for residential communities, offering seamless management of visitors, billing, facilities, and communications.
Single Mobile App for All Roles
Societify Mobile is a unified Flutter application that supports 9 distinct user roles in a single app: Super Admin, Society Admin, Sub Admin, Accountant, Resident, Guard, Vendor, Staff, and Collector. Users simply log in with their credentials, and the app automatically routes them to their role-specific dashboard.
Platform Architecture
Societify Web
Laravel 12 + React 19 + Inertia.js
Admin Panel & Backend API for Super Admin, Society Admin, Sub Admin, and Accountant roles.
Societify Mobile
Flutter 3.19+ with GetX
Single unified mobile app supporting all 9 user roles with role-based dashboards and features.
Key Features
Multi-Tenant SaaS
Manage unlimited societies from a single Super Admin dashboard with complete data isolation.
Automated Billing
Auto-generate bills with multiple charge heads, penalties, and integrated payment gateways.
Visitor Security
QR-code based visitor entry/exit system with pre-approval and real-time notifications.
Facility Booking
Online facility booking with slot management, payments, and conflict-free scheduling.
Helpdesk System
Ticket-based complaint system with staff assignment, tracking, and feedback.
SOS Emergency
One-tap emergency alerts to guards and management with location sharing.
System Requirements
Before installing Societify, ensure your environment meets the following requirements:
Backend Server
- PHP >= 8.2 (Recommended)
- Laravel 12 Framework
- React 19 with Inertia.js
- MySQL >= 5.7 or MariaDB >= 10.3 or PostgreSQL or SQLite
- BCMath PHP Extension
- Ctype PHP Extension
- Fileinfo PHP Extension
- JSON PHP Extension
- Mbstring PHP Extension
- OpenSSL PHP Extension
- PDO PHP Extension
- Tokenizer PHP Extension
- XML PHP Extension
- Actively running Cron Jobs
- Node.js >= 18.x (for frontend build)
- Composer (PHP dependency manager)
public directory as the web root.
Mobile App Development
- Flutter SDK >= 3.19.0 (Recommended)
- Dart SDK >= 3.0.0
- GetX state management
- Android Studio (for Android build)
- Xcode >= 14.0 (for iOS build - macOS only)
- Firebase account (for push notifications)
- Google Services configuration files
Installation
Follow these steps to set up the Backend and the Mobile Application.
1. Web Installer (Recommended)
Upload the project zip file to your server (public_html) and extract it.
Open your website URL in the browser (e.g., https://yourdomain.com/install). You will be greeted by the simple setup wizard.
2. CLI Installation (Manual)
Extract the project zip file to your server directory and install dependencies:
cd /path-to-your-project
composer install --optimize-autoloader --no-dev
cp .env.example .env
php artisan key:generate
Create a MySQL database and update your .env file with database credentials. Then run migrations:
php artisan migrate --seedEmail:
admin@example.com
Password:
password
flutter doctor until it shows no blocking issues.
1. Flutter Setup
Install Flutter for your OS:
- Windows: Download + install from
https://docs.flutter.dev/get-started/install/windows - macOS: Download + install from
https://docs.flutter.dev/get-started/install/macos - Linux: Download + install from
https://docs.flutter.dev/get-started/install/linux
Navigate to the mobile app directory and install packages:
cd mobile-app
flutter pub getflutter upgrade
2. API URL Configuration
Configure the API base URL in lib/constants/api_constants.dart (single base URL):
class ApiConstants {
  /// Production API URL - Change this to your backend URL
  static const String baseUrl = 'https://yourdomain.com/api';
}baseUrl points to your production backend.
3. App Logo & Icons Configuration
Android App Icon
Replace the app icon files in the following directories:
android/app/src/main/res/mipmap-hdpi/ic_launcher.png(72x72)android/app/src/main/res/mipmap-mdpi/ic_launcher.png(48x48)android/app/src/main/res/mipmap-xhdpi/ic_launcher.png(96x96)android/app/src/main/res/mipmap-xxhdpi/ic_launcher.png(144x144)android/app/src/main/res/mipmap-xxxhdpi/ic_launcher.png(192x192)android/app/src/main/res/mipmap-anydpi-v26/ic_launcher.xml(Adaptive icon)
iOS App Icon
Replace app icons in ios/Runner/Assets.xcassets/AppIcon.appiconset/:
- 20x20, 29x29, 40x40, 60x60, 76x76, 83.5x83.5, 1024x1024 sizes
- Or use Xcode to set app icons: Open
ios/Runner.xcworkspace→ Select Runner target → App Icons
flutter_launcher_icons package to generate all icon sizes automatically. Add to pubspec.yaml and run flutter pub run flutter_launcher_icons
4. App Name & Package Configuration
Android Package Name
Update package name in android/app/build.gradle.kts:
android {
    defaultConfig {
        applicationId = "com.yourcompany.societify" // Change this
        // ...
    }
}
Also update package name in AndroidManifest.xml files and Java/Kotlin source files.
iOS Bundle Identifier
Update bundle identifier in ios/Runner.xcodeproj/project.pbxproj or via Xcode:
- Open
ios/Runner.xcworkspacein Xcode - Select Runner target → General tab
- Change Bundle Identifier to
com.yourcompany.societify
App Display Name
Update app name in:
- Android:
android/app/src/main/AndroidManifest.xml→android:label - iOS:
ios/Runner/Info.plist→CFBundleDisplayName
5. Firebase Setup
Place your Firebase configuration files in the respective directories:
- Android:
android/app/google-services.json - iOS:
ios/Runner/GoogleService-Info.plist
6. Build Configuration
Android Signing
Configure app signing in android/app/build.gradle.kts:
android {
    signingConfigs {
        create("release") {
            keyAlias = "your-key-alias"
            keyPassword = "your-key-password"
            storeFile = file("path/to/keystore.jks")
            storePassword = "your-store-password"
        }
    }
    buildTypes {
        getByName("release") {
            signingConfig = signingConfigs.getByName("release")
        }
    }
}
iOS Signing
Configure signing in Xcode:
- Open
ios/Runner.xcworkspacein Xcode - Select Runner target → Signing & Capabilities
- Select your development team
- Xcode will automatically manage provisioning profiles
7. Build Commands
After configuration, build your app:
# Android APK
flutter build apk --release

# Android App Bundle (for Play Store)
flutter build appbundle --release

# iOS (requires macOS and Xcode)
flutter build ios --release
System Settings (Database-driven)
All operational configuration (payments, mail, SMS/WhatsApp, etc.) is managed in the web dashboard settings and stored in the database. These values are not configured in .env.
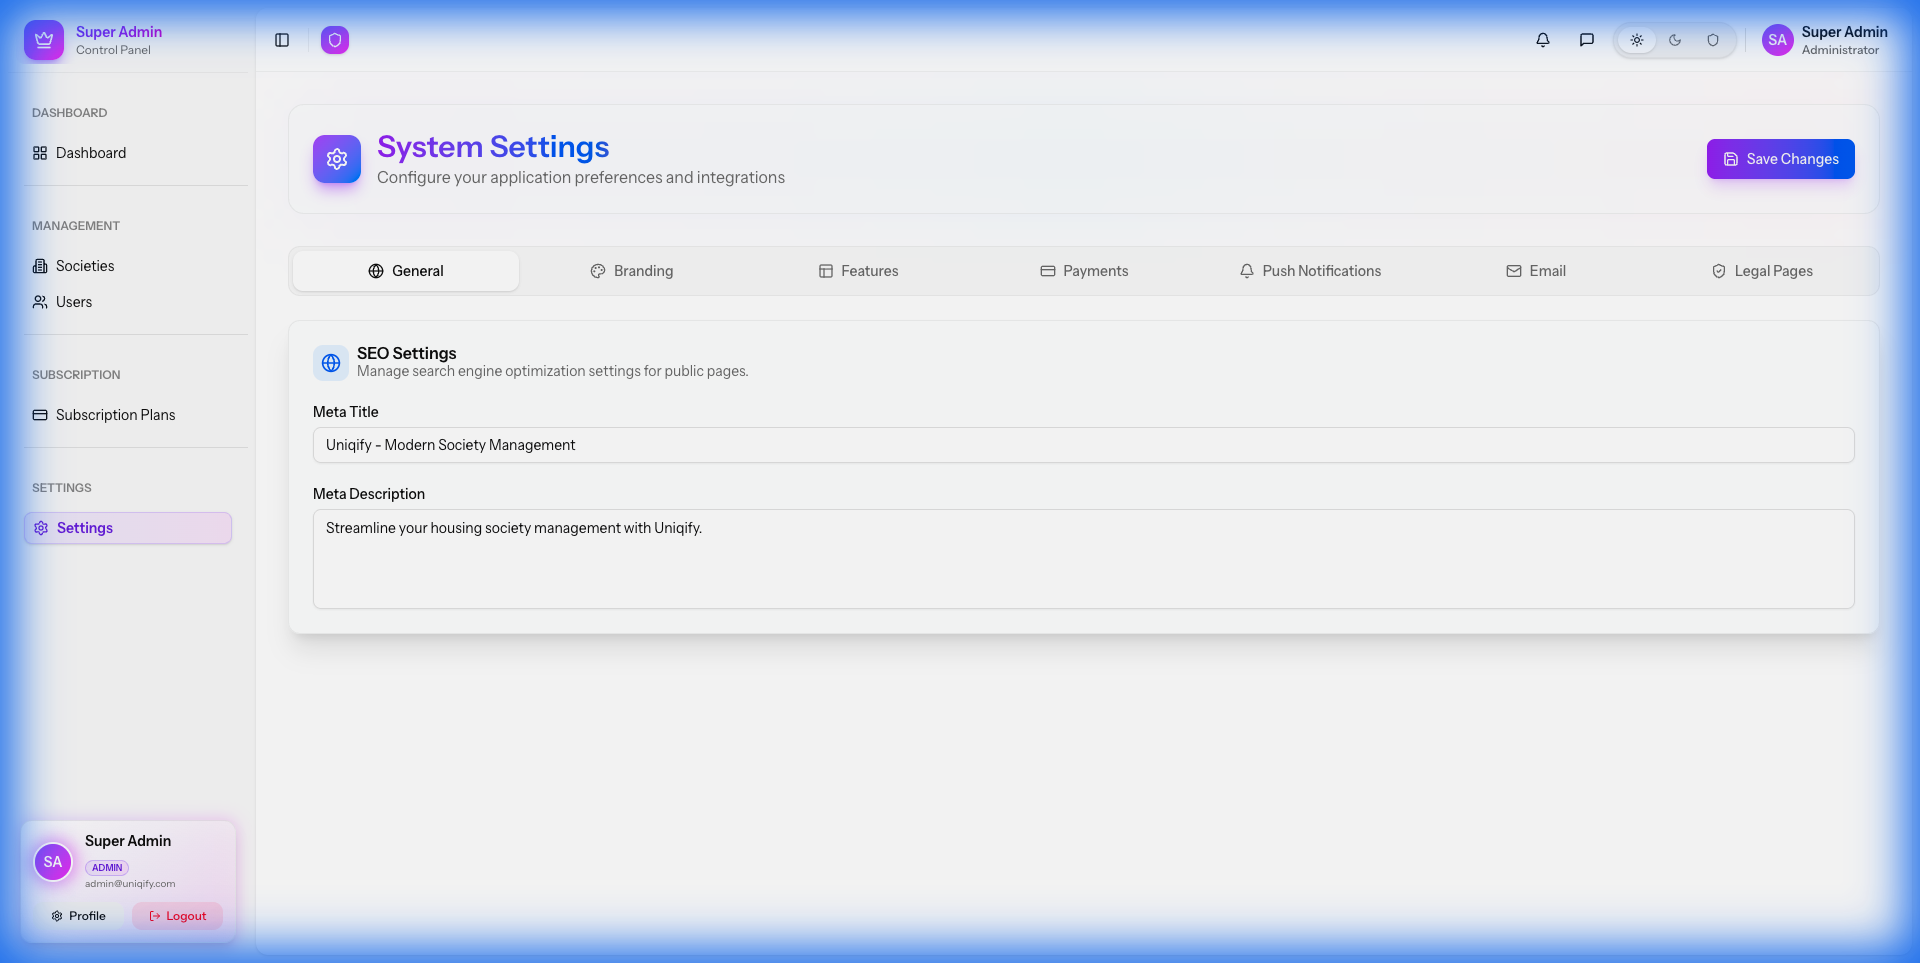
Figure 3: System Settings & Configuration
Payments (configured in Settings)
Payment providers (Razorpay / Stripe / PayPal) are configured from the admin panel:
- Society payments: Society Admin → Settings → Payment
- SaaS subscriptions: Super Admin → Settings → Payments
Razorpay webhook secret (required)
razorpay_webhook_secret in the admin panel (database-driven):
- Society payments: Society Admin → Settings → Payment
- SaaS subscriptions: Super Admin → Settings → Payments
Notifications & Messaging (configured in Settings)
Notification channels are also configured in the admin panel (database-driven):
- Push notifications: Firebase FCM
- Email: SMTP settings (see “Mail Configuration”)
- SMS / WhatsApp: provider credentials configured in Settings
Cron Jobs
Societify requires a single Cron entry to run scheduled tasks (like subscription checks, cleanup).
* * * * * cd /path-to-your-project && php artisan schedule:run >> /dev/null 2>&1Mail Configuration
Mail (SMTP) settings are configured in the web dashboard settings and stored in the database (not in .env).
SMTP Settings
Enter your mail provider details in Settings (host, port, username, password, encryption, from name/address), then send a test email to confirm delivery.
Super Admin Guide
The Super Admin panel is the central control hub for managing the entire platform. It allows you to oversee multiple societies, manage subscriptions, and configure system-wide settings.
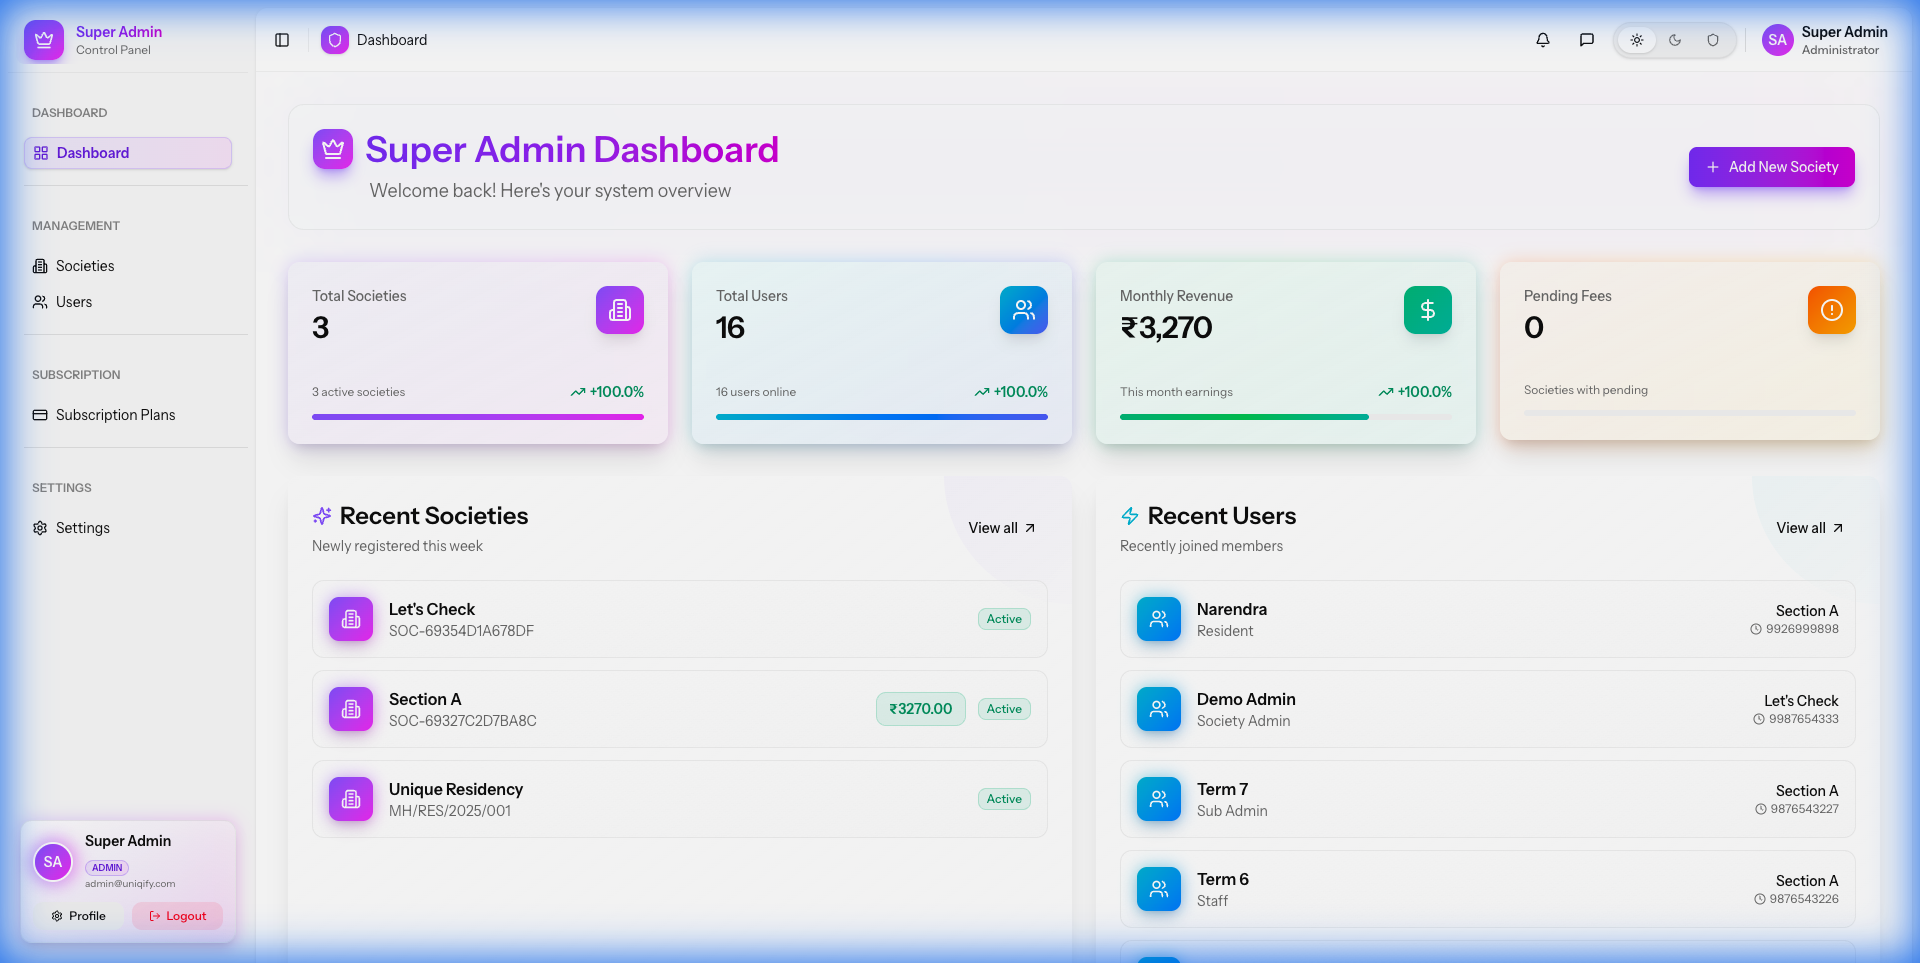
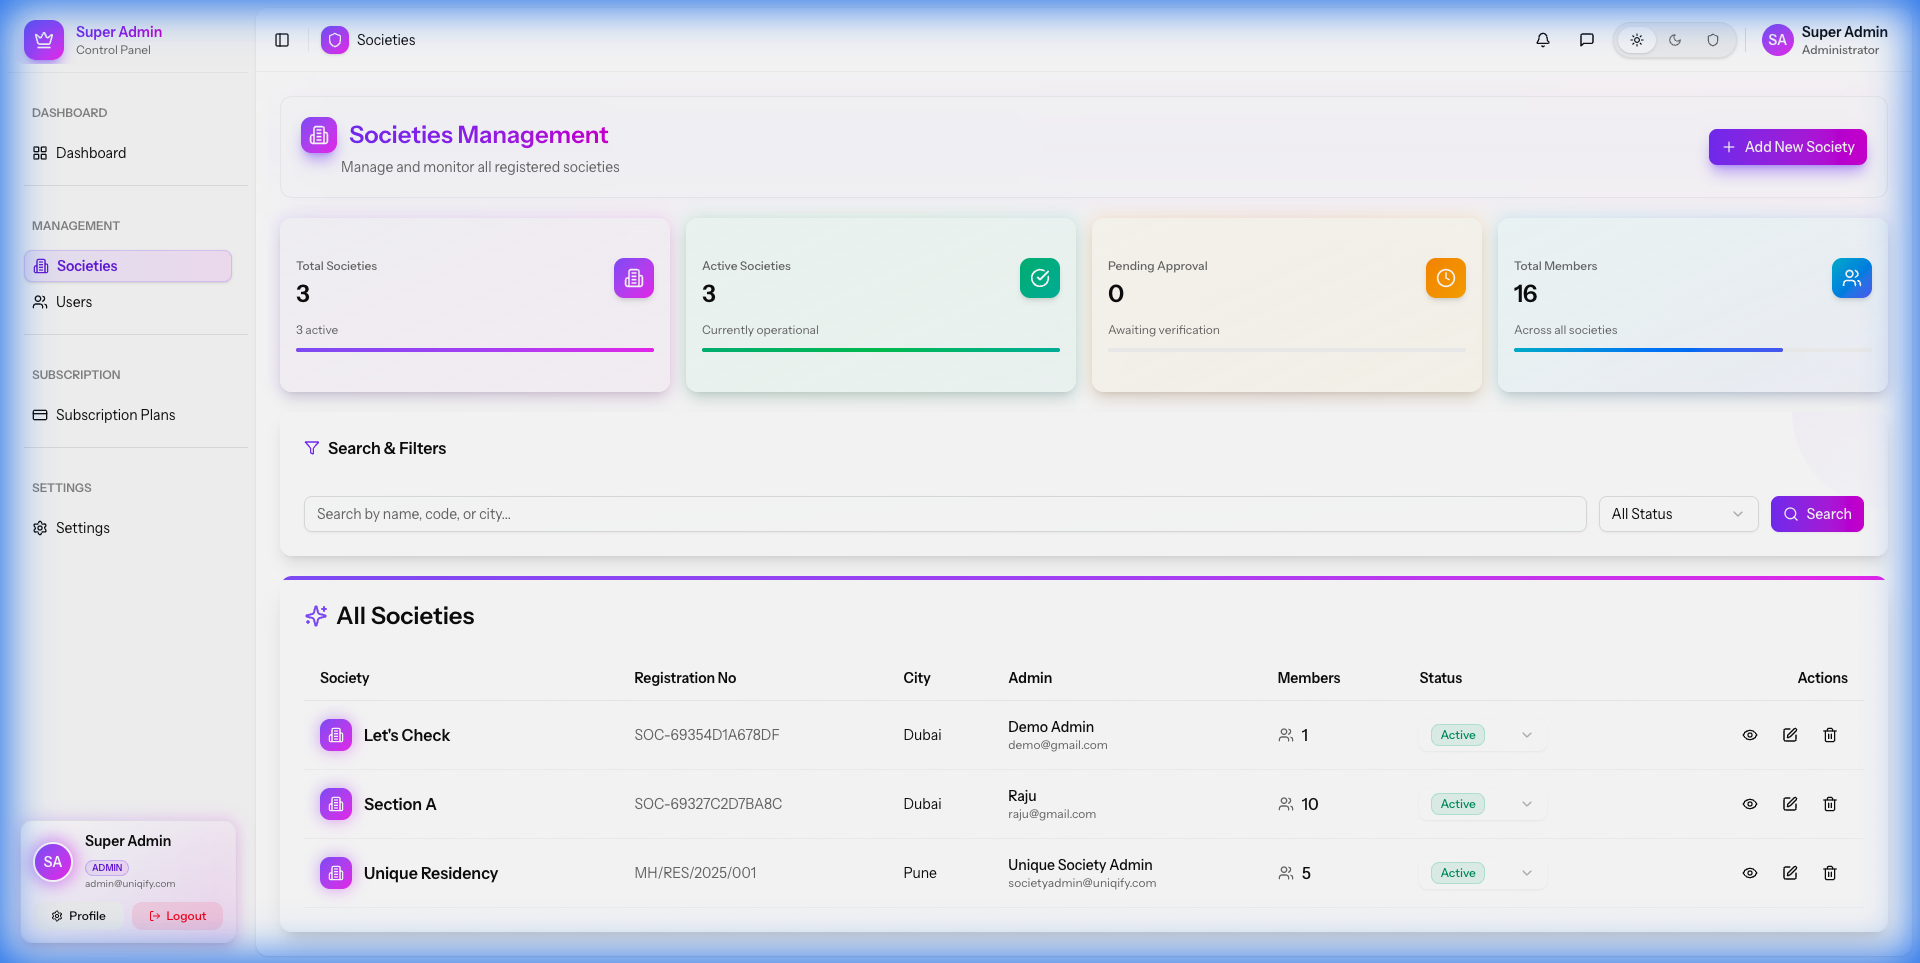
1. Managing Societies
Navigate to the Societies tab to create and manage society accounts. This is where you onboard new communities onto the platform.
- Create Society: Add new societies with details like name, address, and admin contact.
- Status Management: Active, suspend, or delete society accounts.
- View Details: Access society-specific analytics and settings.
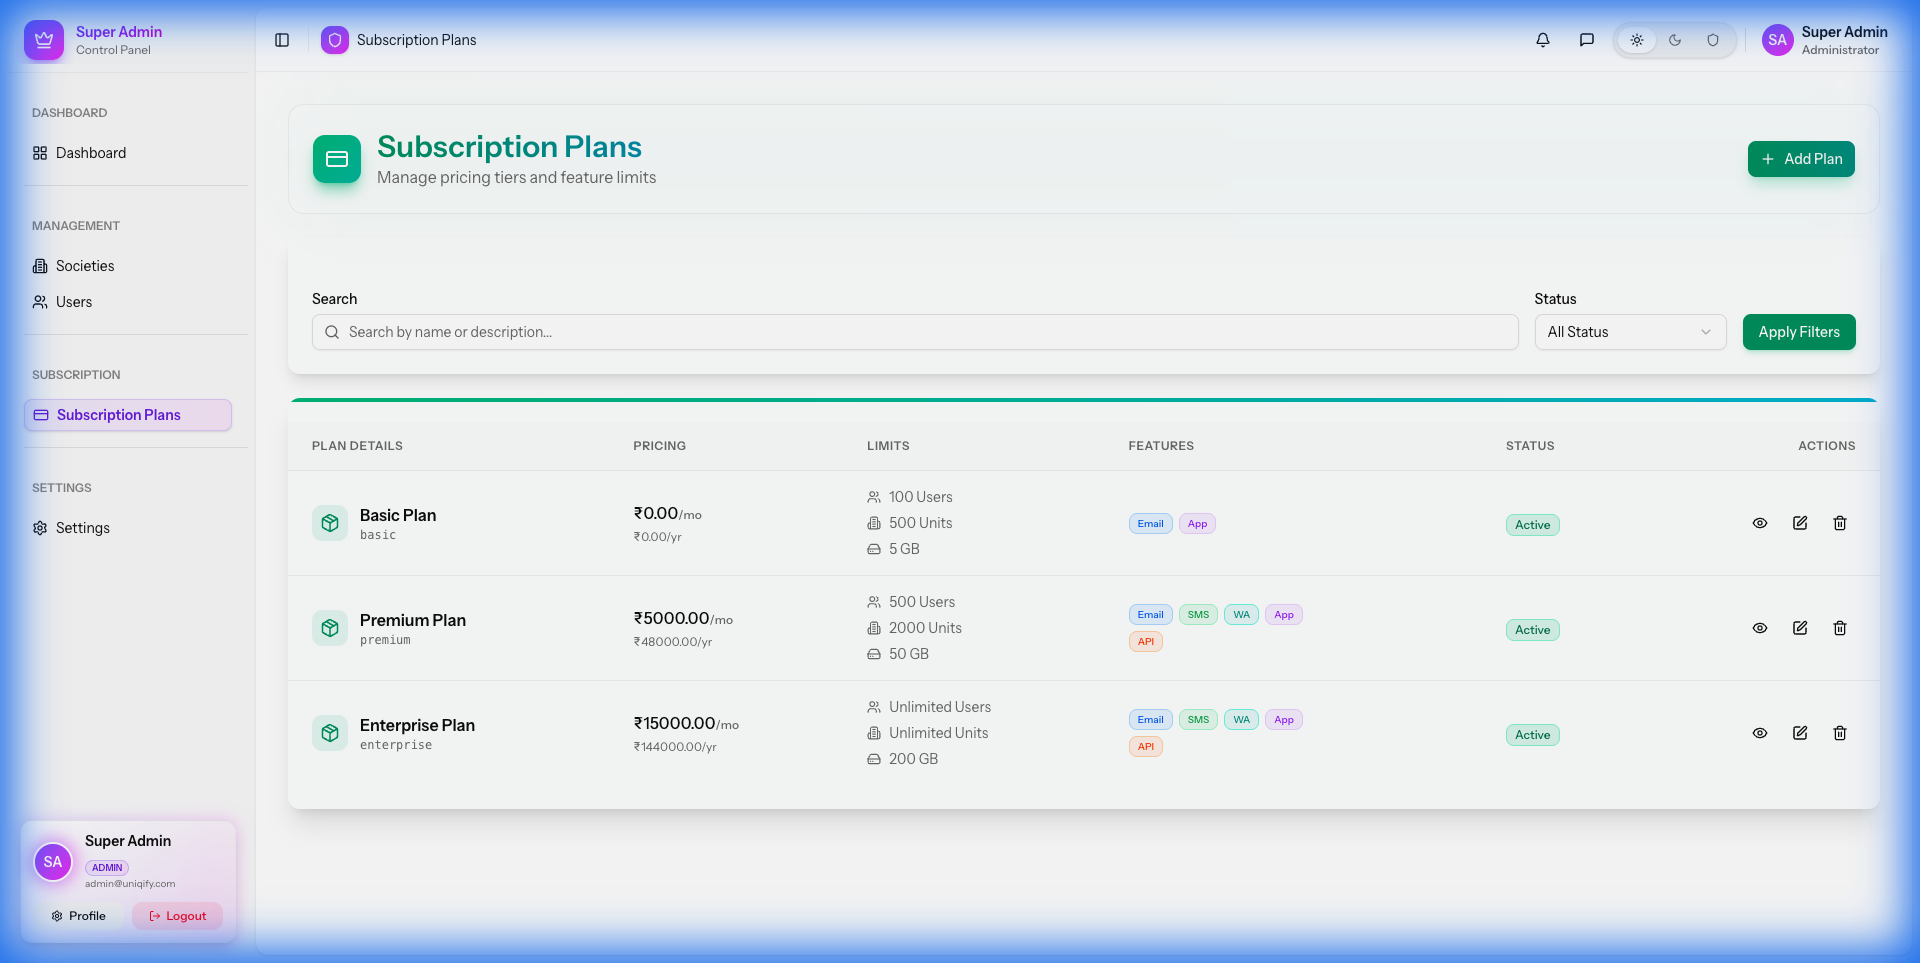
2. Subscription Plans
Create various subscription tiers (e.g., Free, Gold, Platinum) with different feature sets and limits. You can define monthly and yearly pricing for each plan.
3. User Management
View and manage all system users, including other admins and society staff. You can reset passwords and update roles directly from this panel.

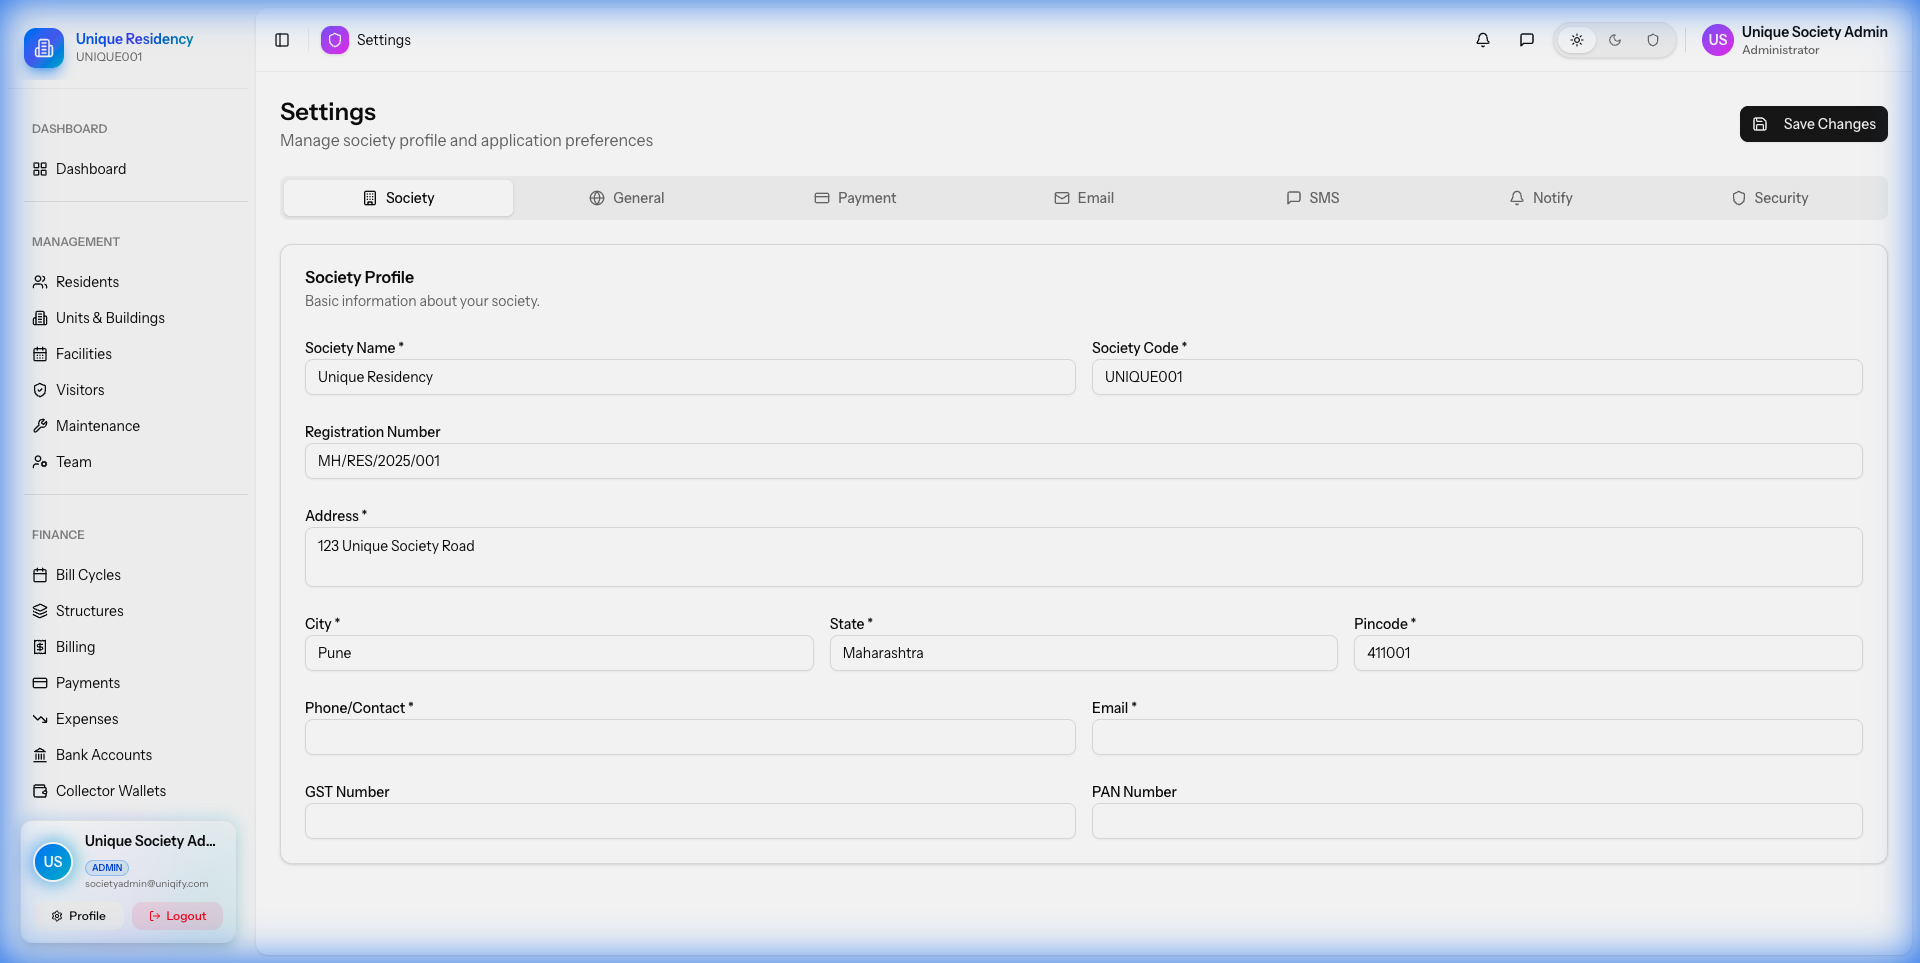
Society Admin Guide
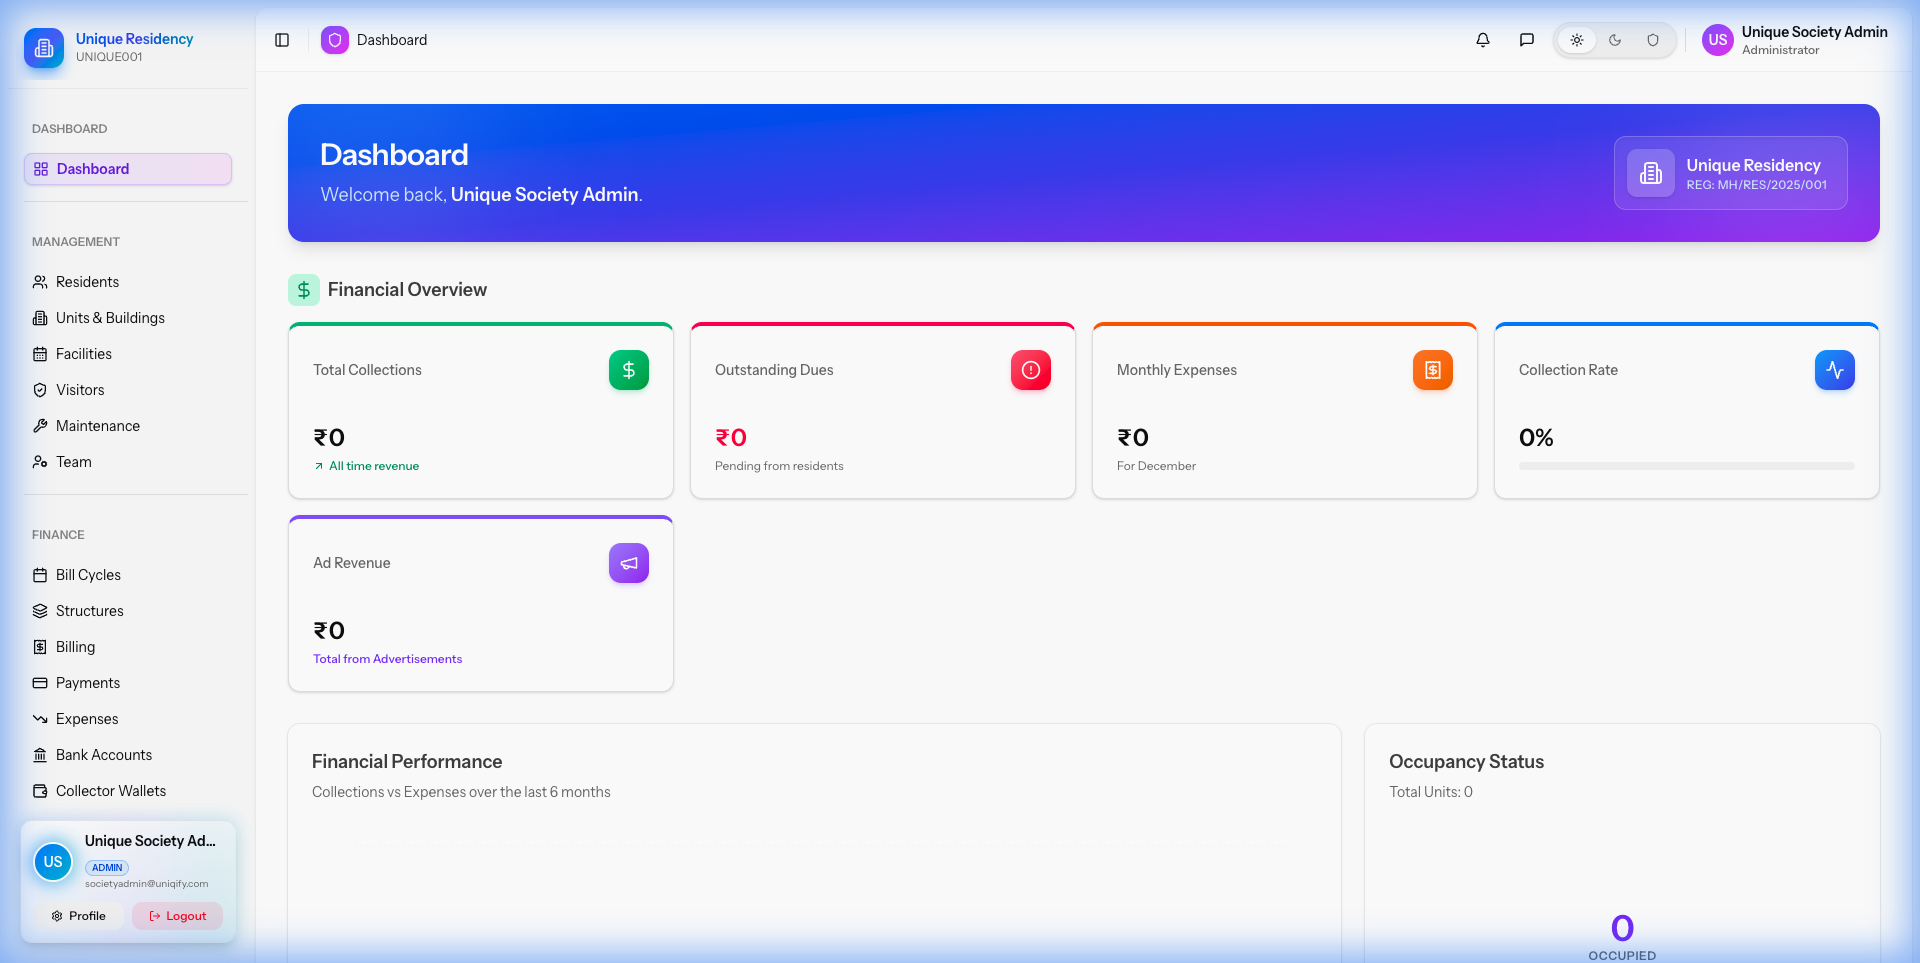
The Society Admin panel is designed for managing the day-to-day operations of a specific community, covering everything from residents to financial accounting.
1. Property Management
Set up the physical structure of your community by defining buildings (blocks) and individual units (flats/villas).
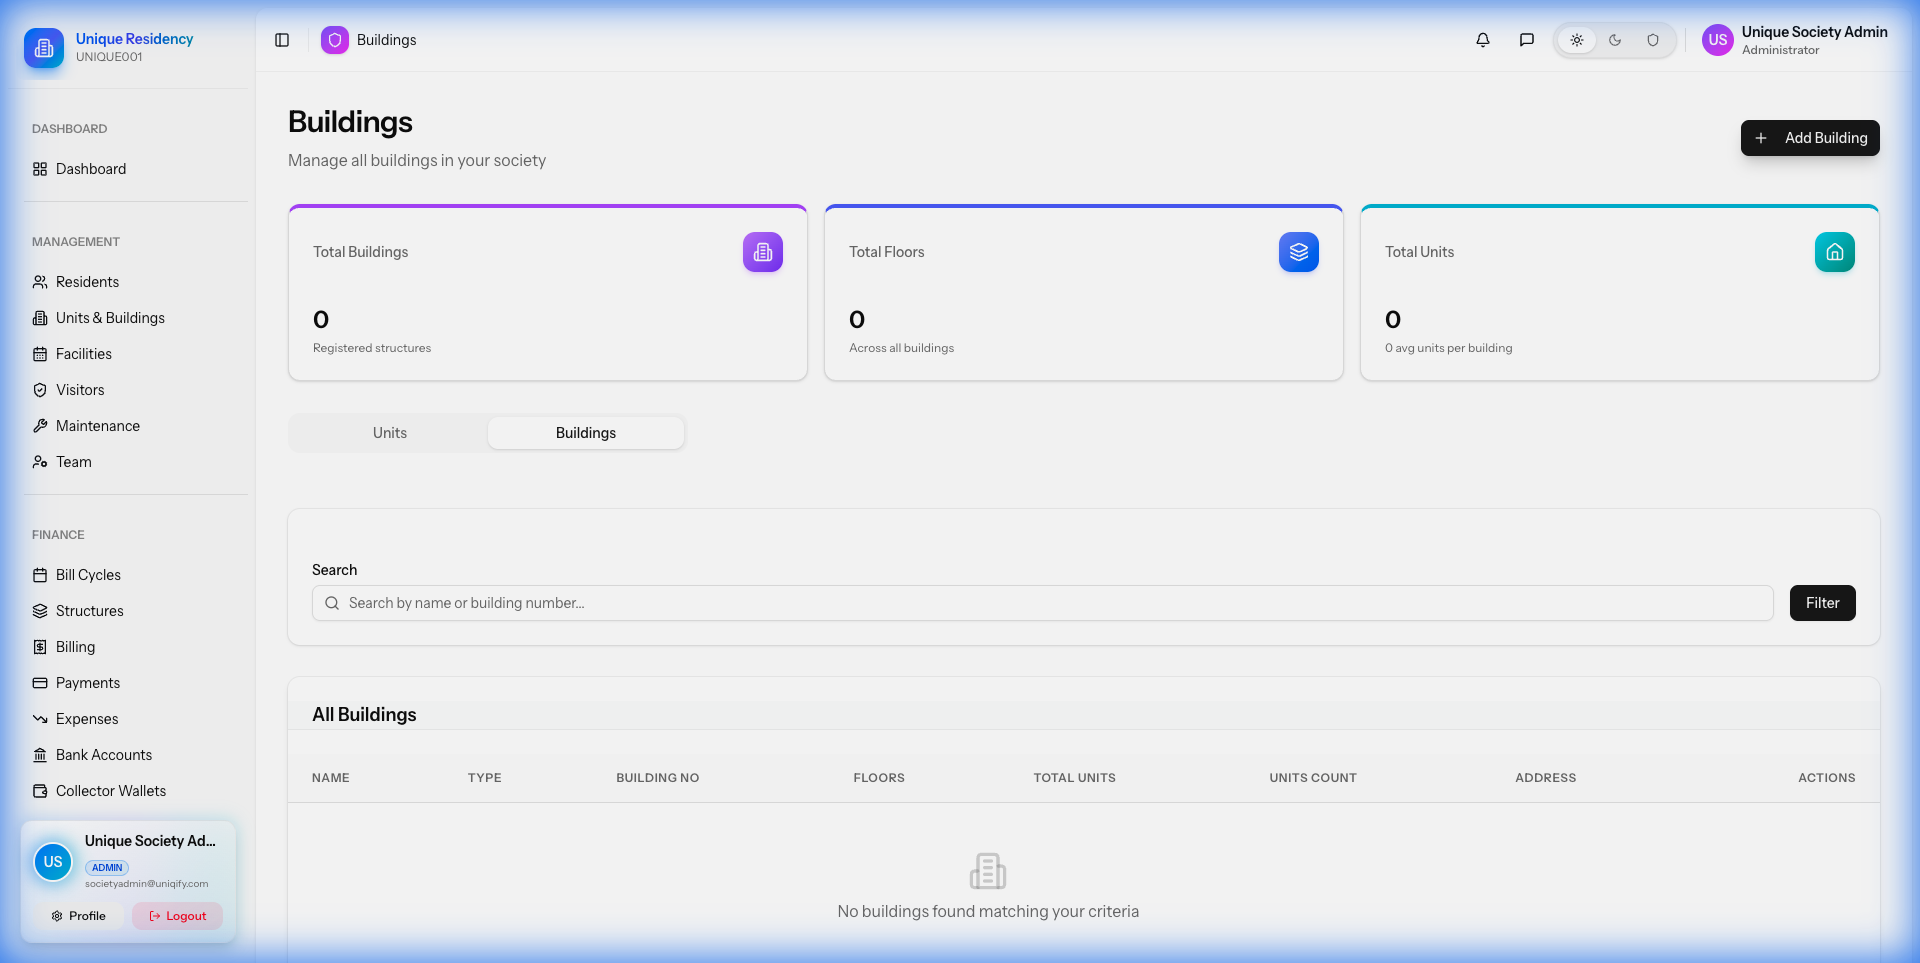
Buildings
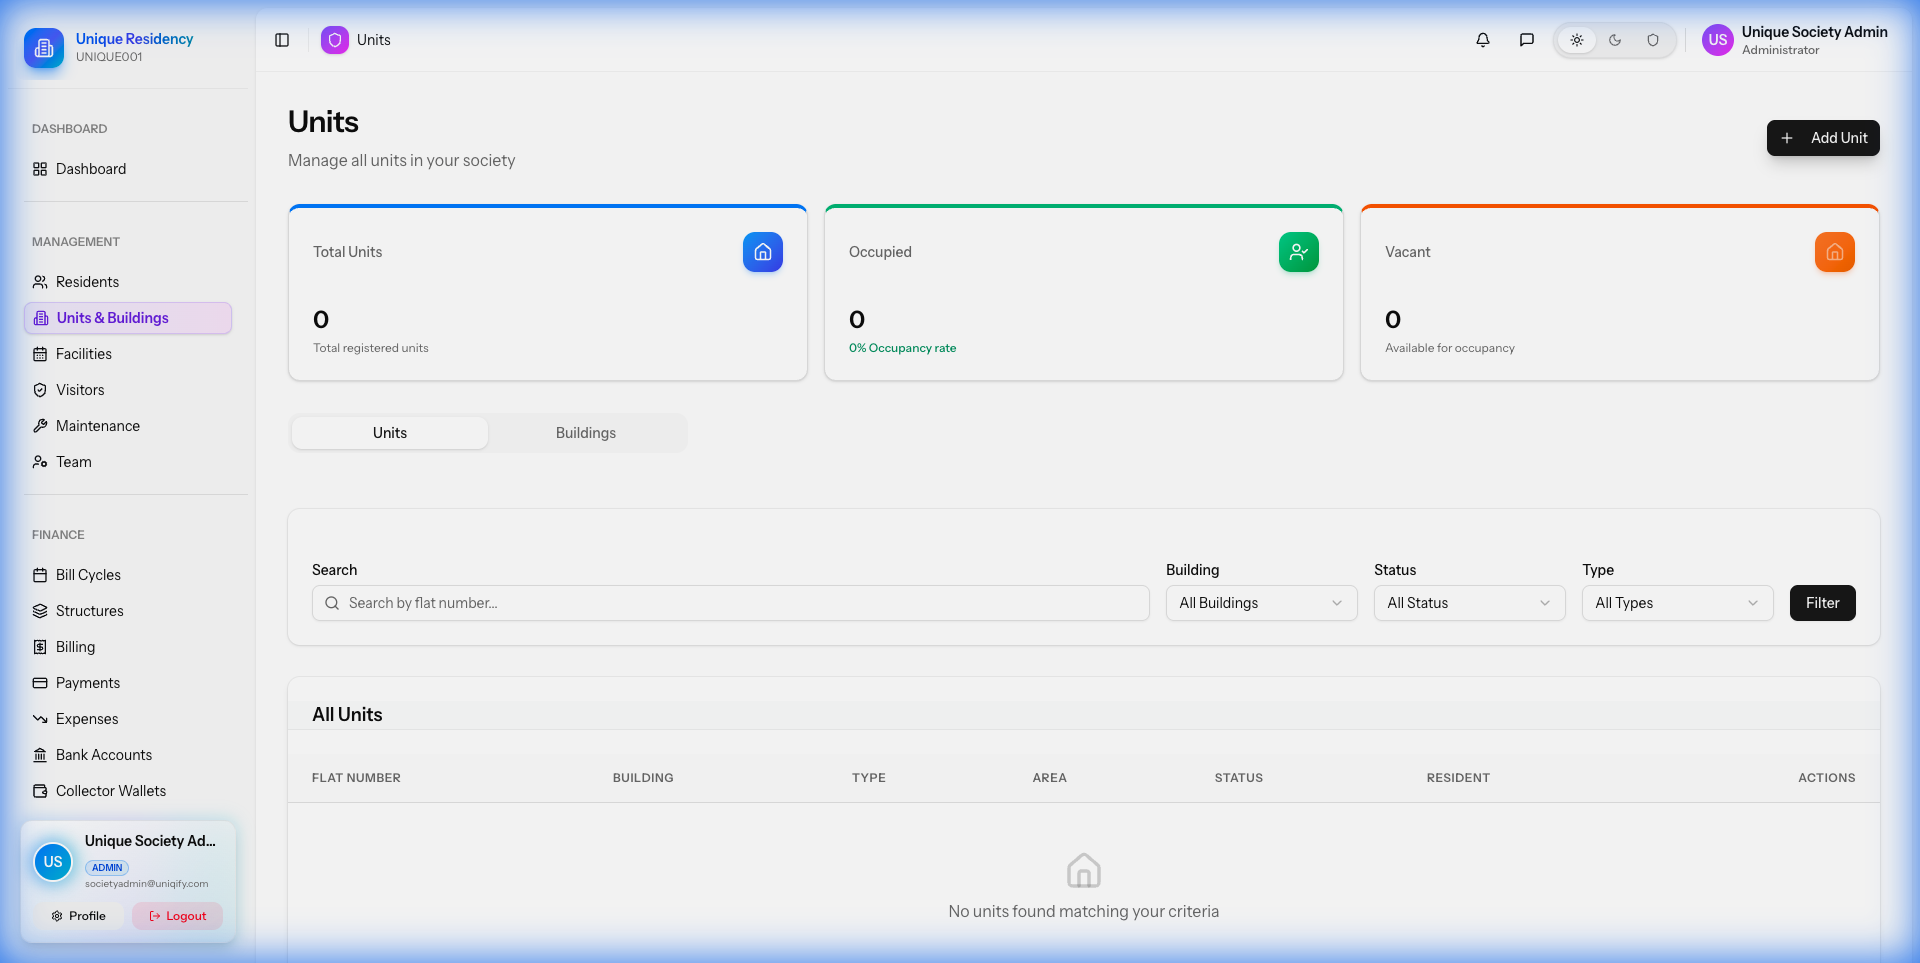
Units
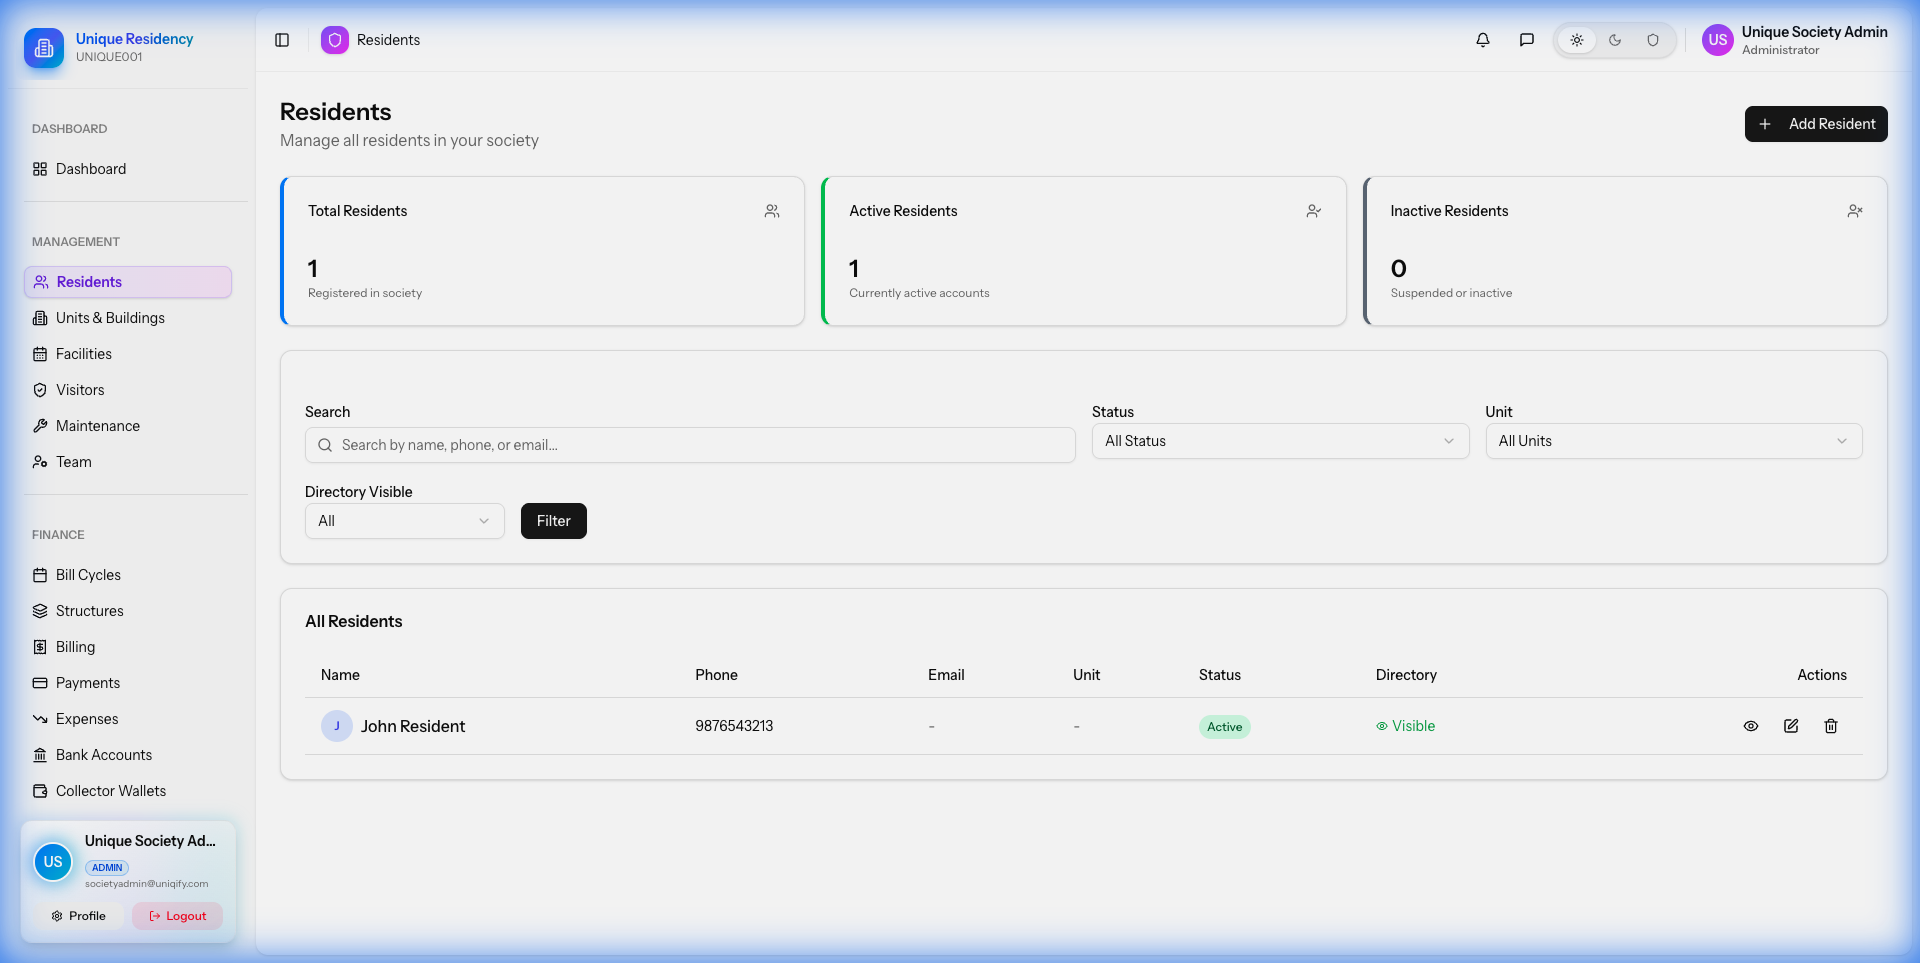
2. Resident Management
Maintain a digital directory of all residents. The system supports Owners, Tenants, and Family Members.
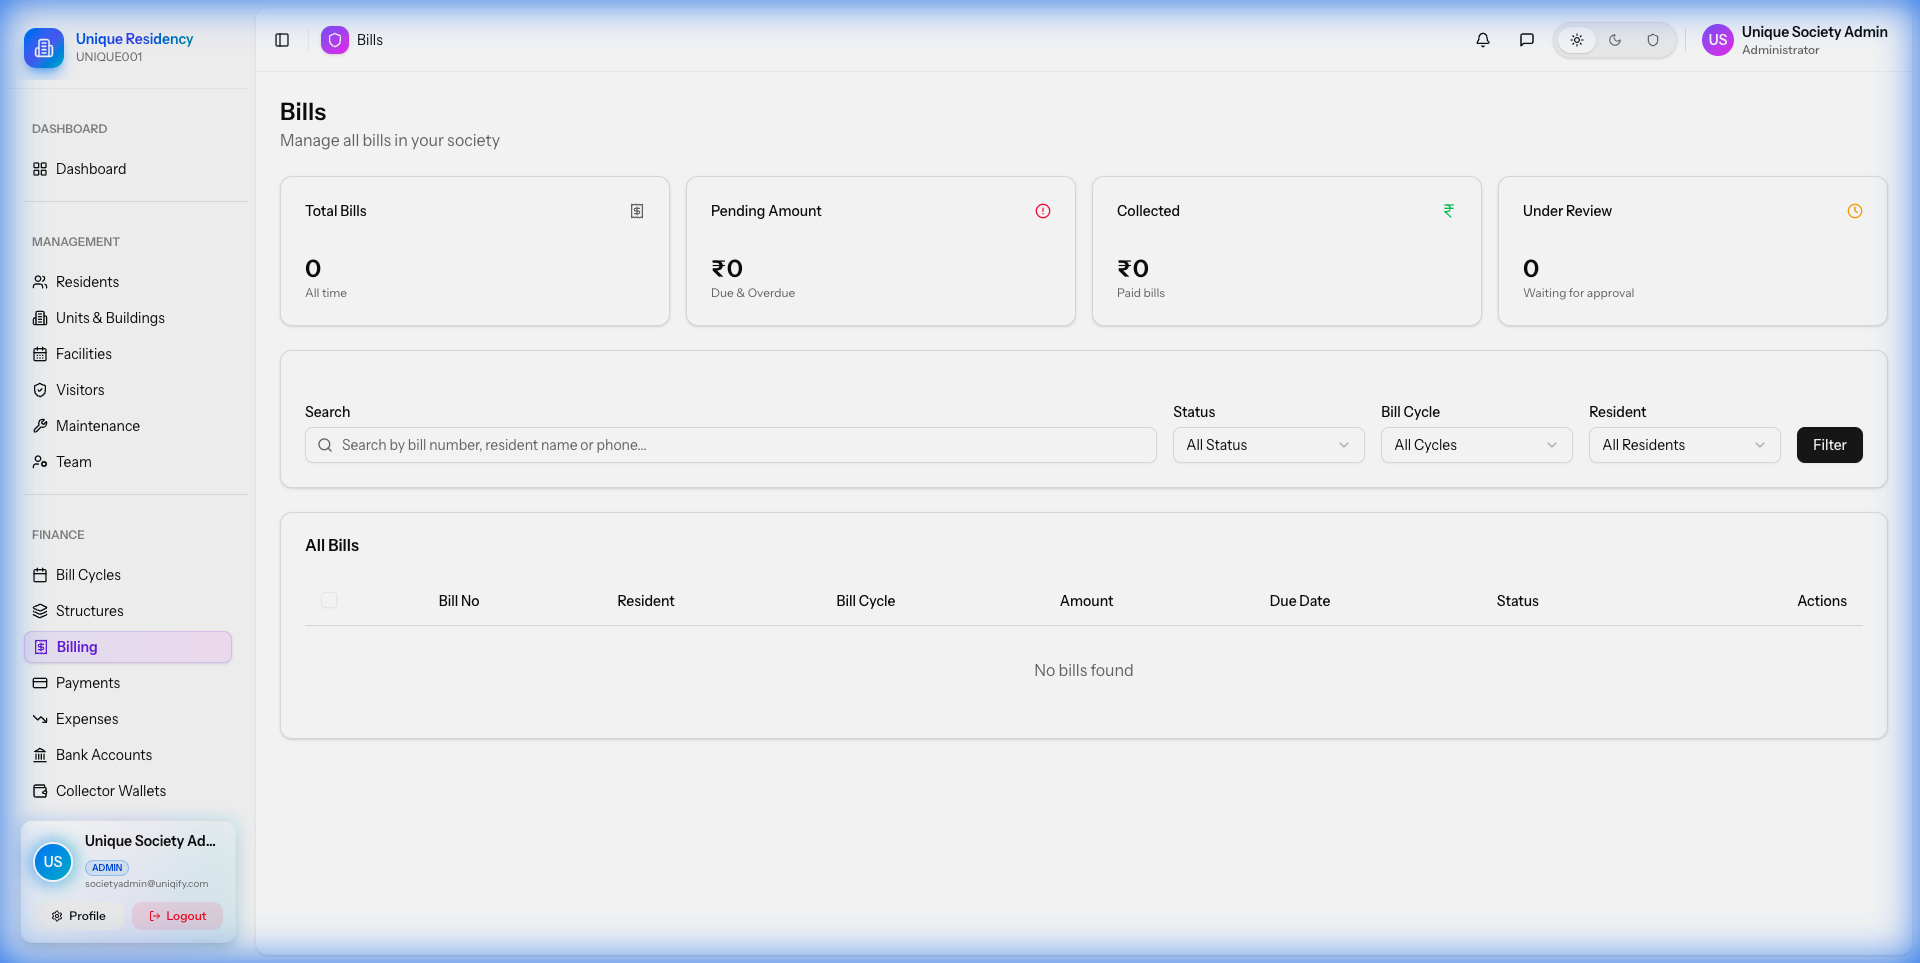
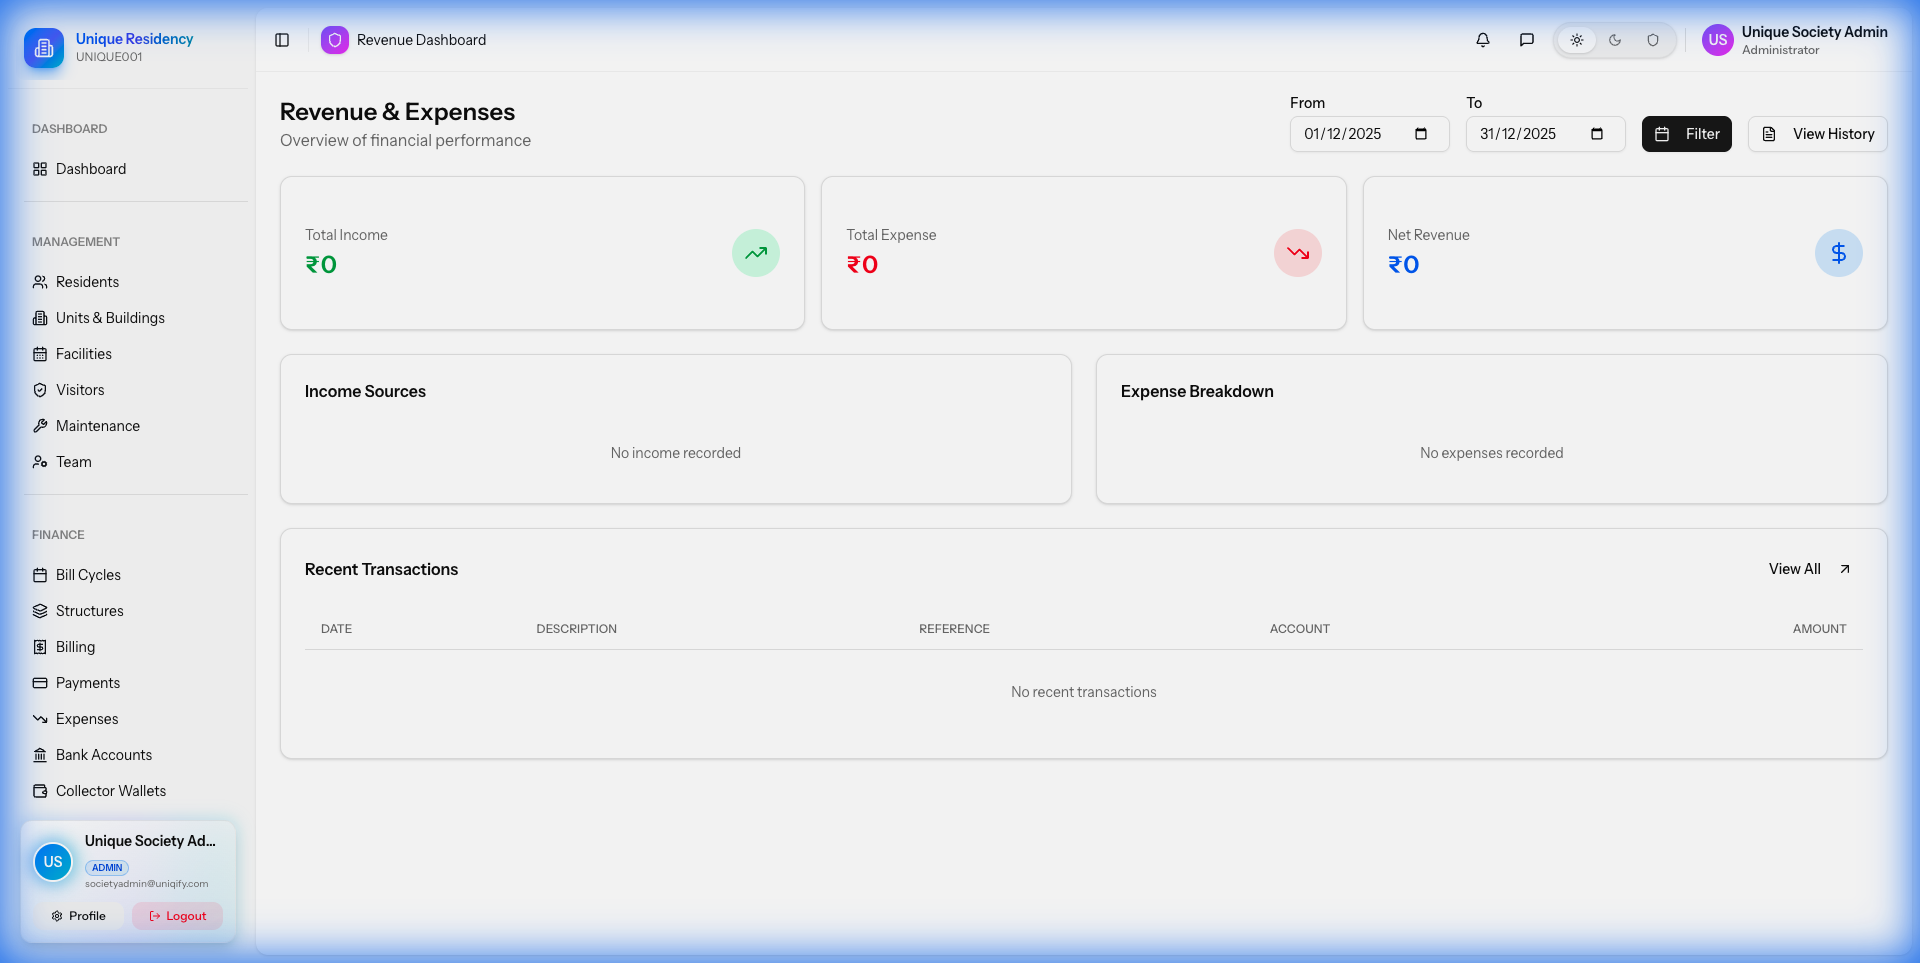
3. Billing & Accounting
Automate your society's finances. The billing module allows you to generate bills, track revenue, and record expenses.
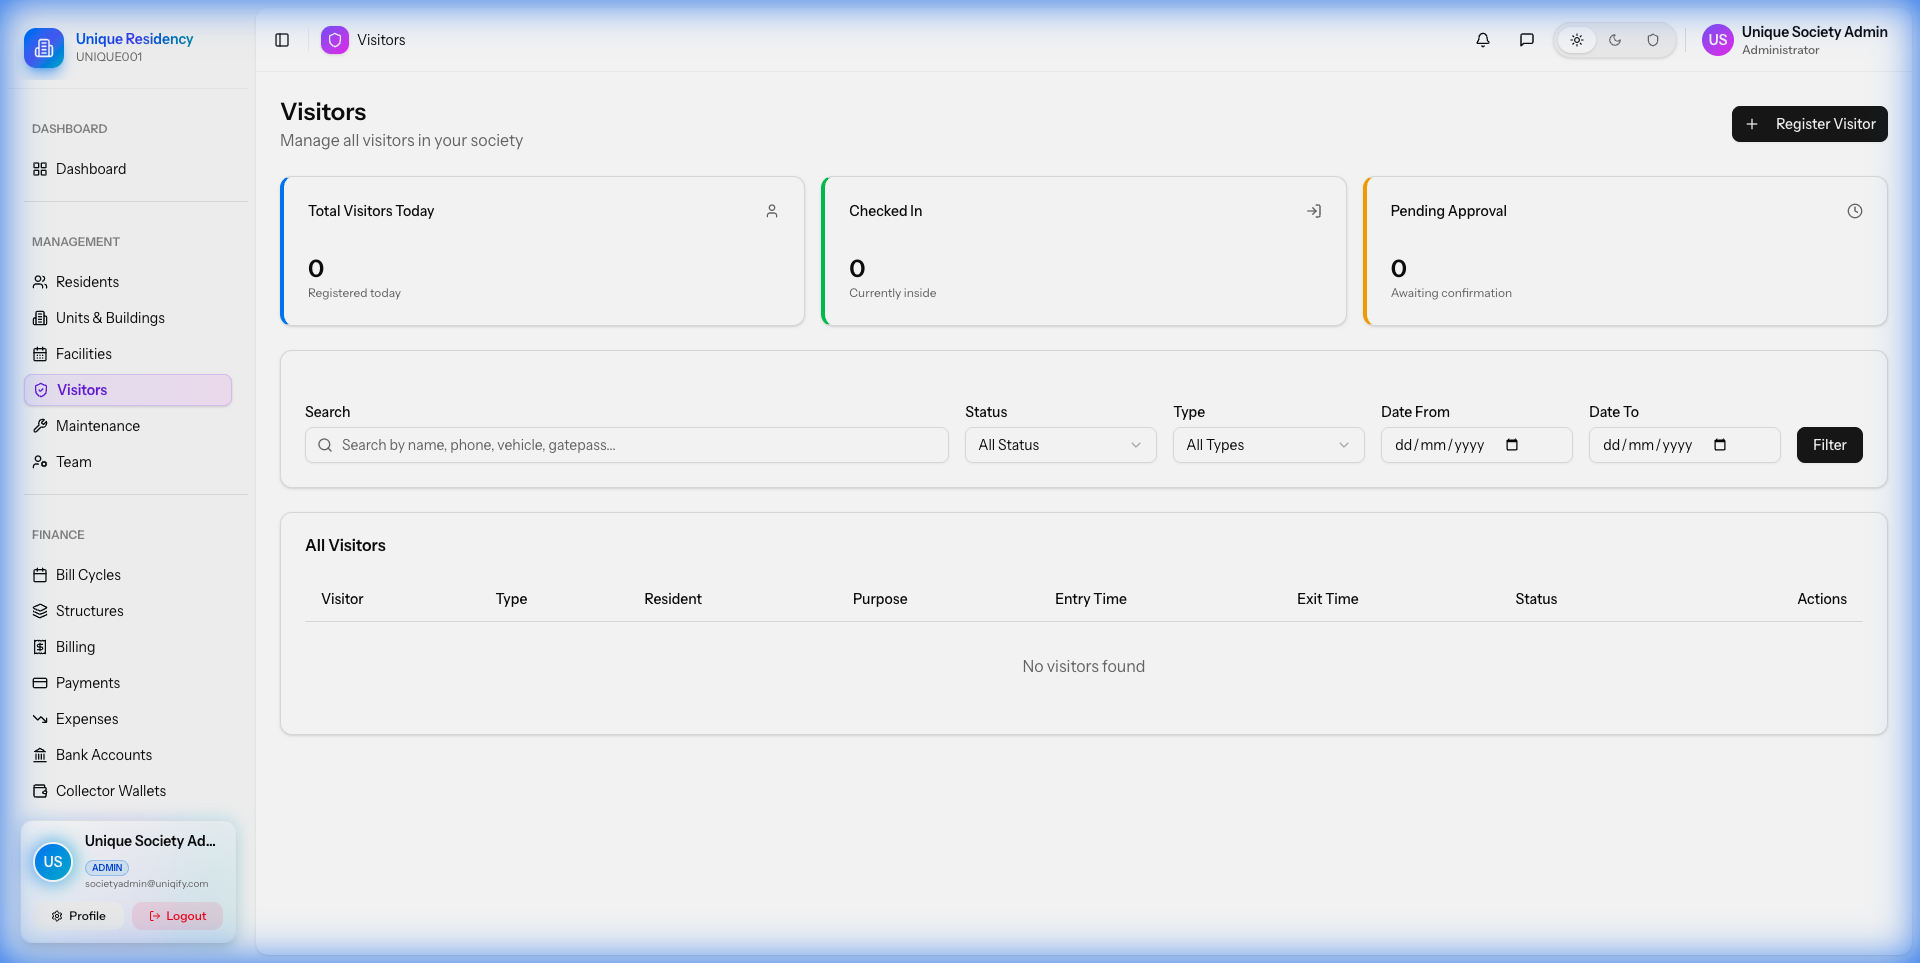
4. Visitor Management
Secure your gates with the visitor tracking system. Guards can check residents in/out, and residents can pre-approve guests via the mobile app.
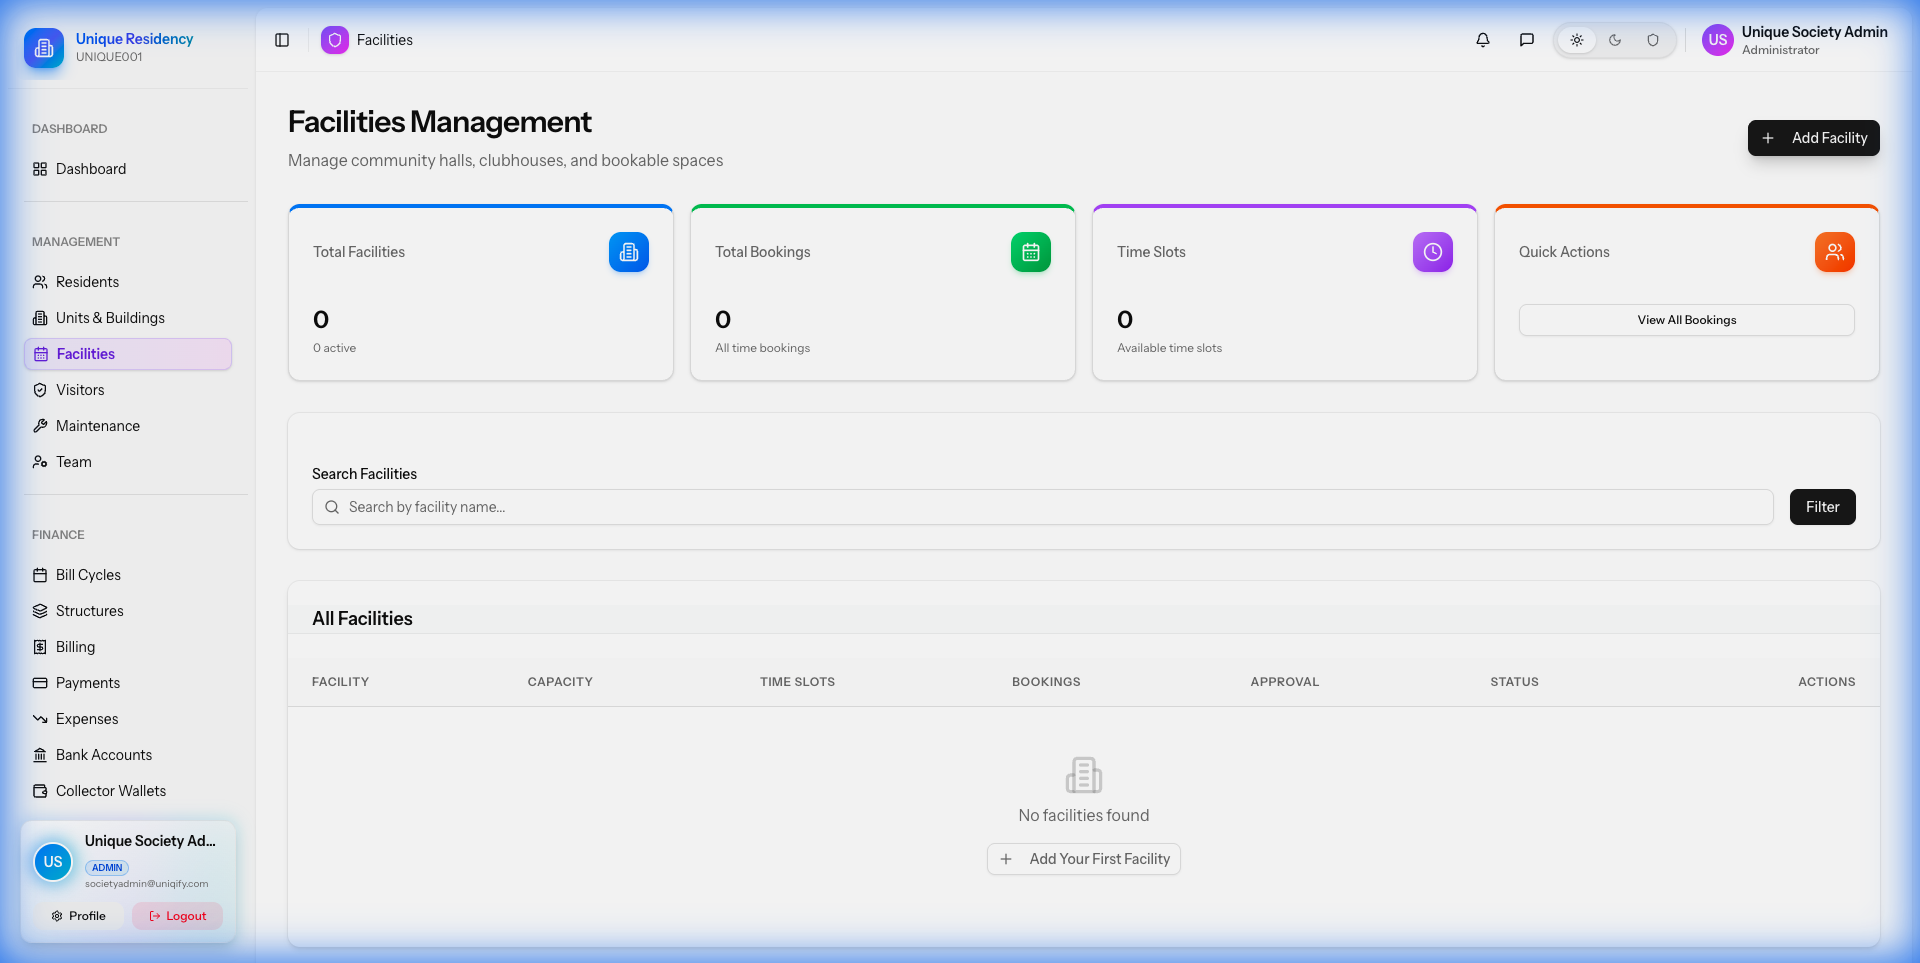
5. Facility Booking
Manage community amenities like Clubhouses, Swimming Pools, and Tennis Courts. Residents can book slots online, and you can track utilization.
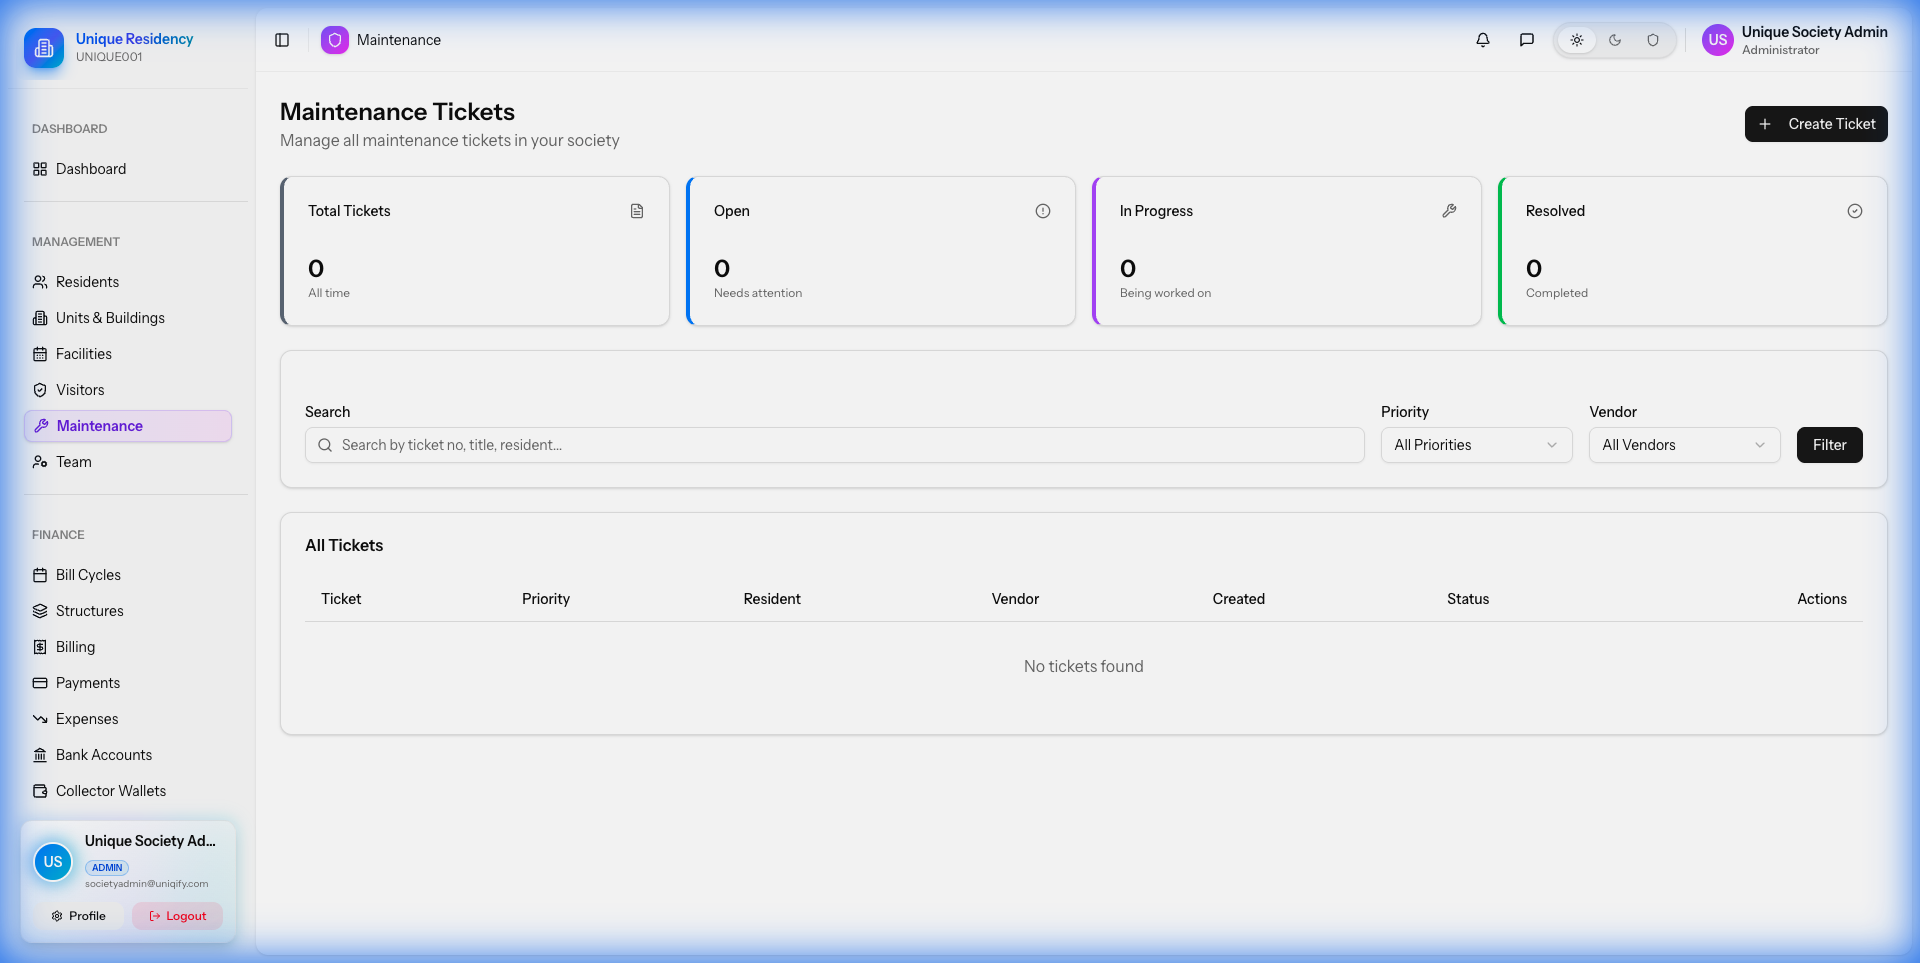
6. Helpdesk & Complaints
A centralized system for tracking resident complaints. Assign tickets to staff (electricians, plumbers) and track resolution times.
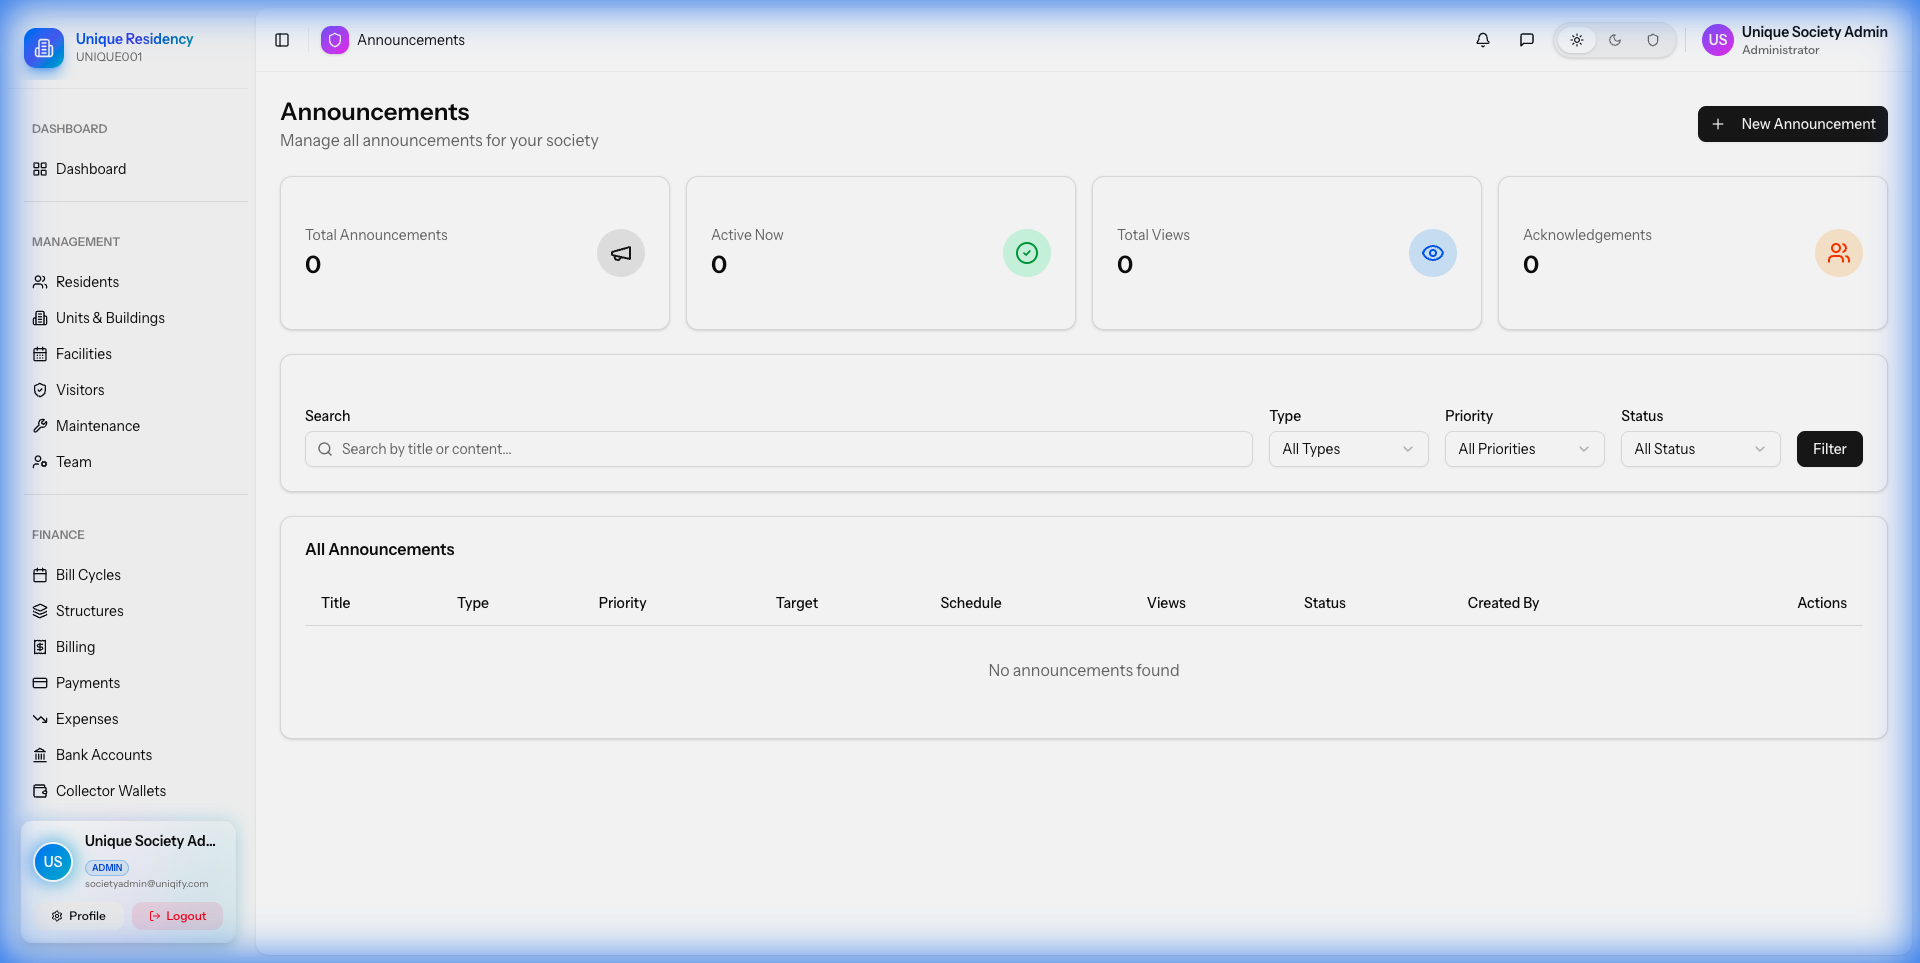
7. Announcements & Notices
Broadcast important information to all residents instantly via mobile push notifications and email.
Mobile App Overview
Societify Mobile is a single unified Flutter application that supports all 9 user roles. Users log in with their credentials, and the app automatically displays the appropriate dashboard and features based on their role.
Supported User Roles (9 Types)
Super Admin
Platform owner - manages all societies, subscriptions, fees
Web OnlySociety Admin
Society owner - full control of their society
Web OnlySub Admin
Limited administrative access with customizable permissions
Web OnlyAccountant
Financial management - bills, payments, reports
Web OnlyResident
Unit owners - full resident features
Mobile AppTenant
Rental unit management with owner collaboration
Mobile AppGuard
Security personnel - visitor management
Mobile AppVendor
External service providers - job assignments
Mobile AppStaff
Maintenance staff - ticket management
Mobile AppCollector
Door-to-door payment collectors
Mobile AppMobile App Technical Features
- Authentication: Phone number-based login with OTP verification, password-based login, secure token storage, auto-login
- Push Notifications: Firebase Cloud Messaging (FCM) for bill reminders, visitor alerts, ticket updates, announcements, booking confirmations, emergency alerts
- Offline Support: Offline data caching, pull-to-refresh, infinite scroll pagination
- Performance: Image compression, network status detection, responsive UI
- Future Ready: Dark mode ready, multi-language ready
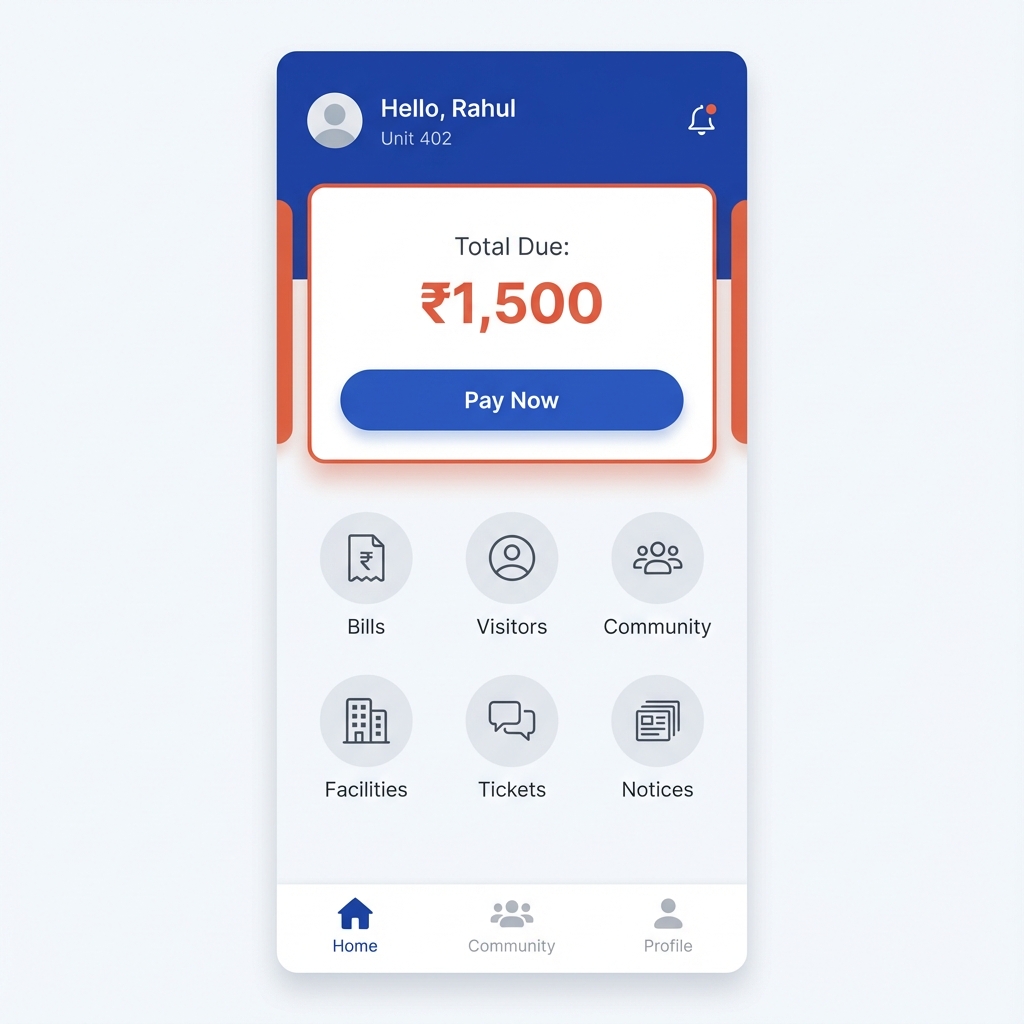
Resident Features (24 Screens)
Residents are the primary users who live in the society. They access all resident features through the unified Societify Mobile app.
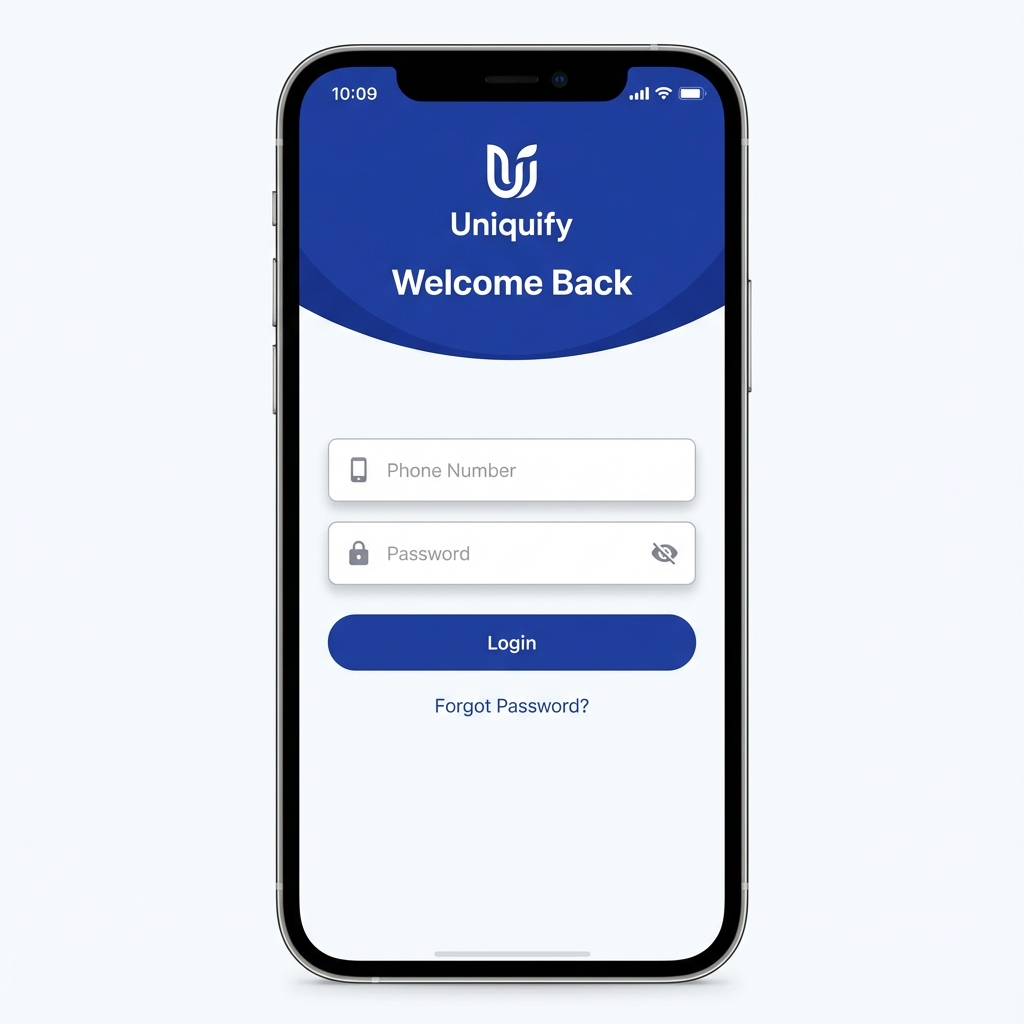
Secure Login & OTP
Dashboard
Dashboard
- Quick stats overview
- Pending bills summary
- Recent announcements
- Upcoming bookings
- Open tickets status
💰 Bills & Payments
- View all bills with status
- Bill detail with breakdown
- Online payment via Razorpay, Stripe, PayPal
- Payment history
- Download receipts
🚪 Visitor Management
- Pre-approve expected visitors
- Generate shareable QR codes
- View visitor history
- Real-time entry notifications
- Reject unexpected visitors
🏊 Facility Booking
- Browse available facilities
- View facility details
- Book time slots
- Online payment for bookings
- View/cancel bookings
🔧 Maintenance Tickets
- Create tickets with photos
- Category & priority selection
- Track ticket status
- Timeline with comments
- Rate resolution
📢 Announcements
- View all notices
- Priority highlighting
- Acknowledge notices
- Attachment downloads
👨👩👧👦 Community
- Community feed
- Create posts (text/image)
- Like and comment
- Community groups
🏡 Household Management
- Add/edit family members
- Tenant management
- Emergency contacts
📖 Directory
- Resident directory
- Search and filter
- Contact information

Bill Management Interface
Guard Features (6 Screens)
Designed for security personnel to manage visitor entry/exit and emergency alerts. Guards access these features through the unified Societify Mobile app.
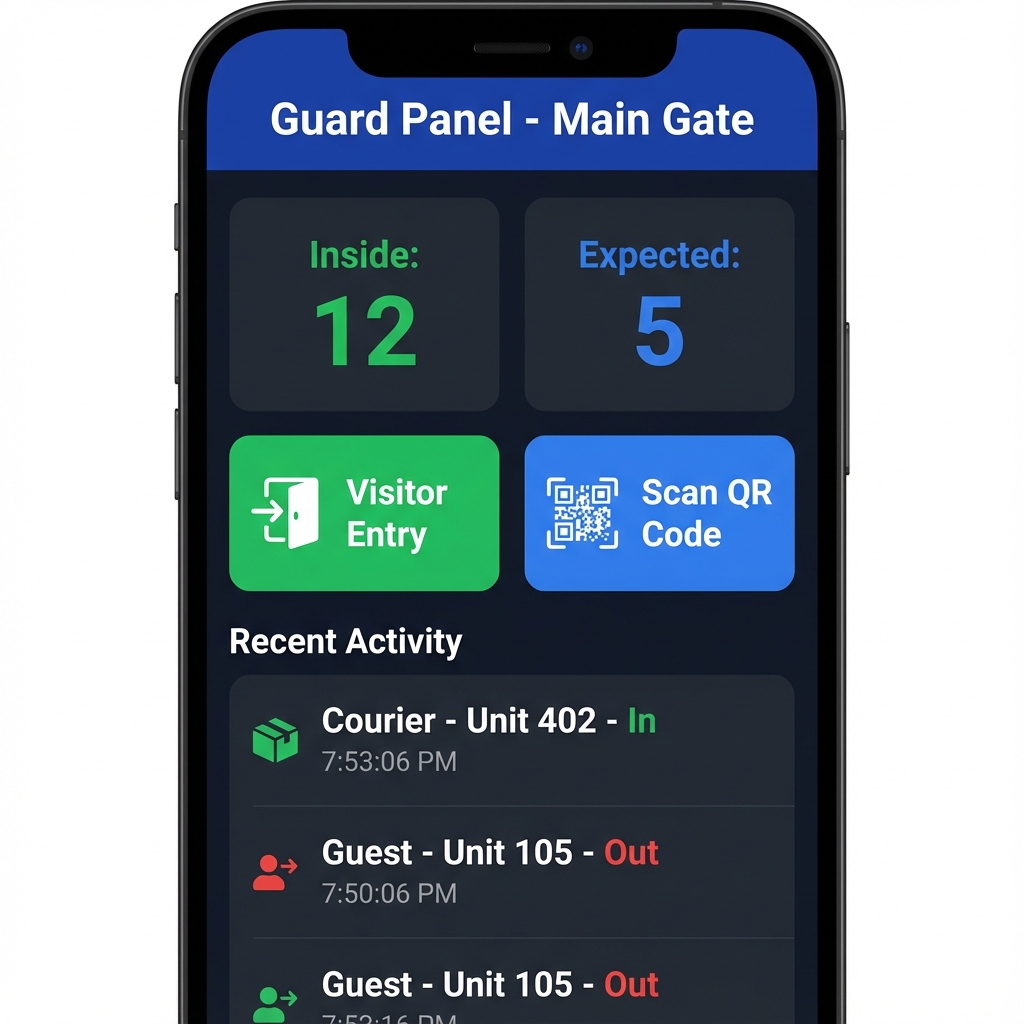
Key Features
- Today's Expected Visitors: View all pre-approved visitors for the day
- QR Code Scanner: Quickly scan pre-approved visitor codes for instant entry
- Manual Entry: Register unexpected visitors and vehicle details
- Visitor Check-in/Check-out: Digital log maintenance for all entries and exits
- Visitor Logs: Complete history of all visitors with search and filter
- Emergency Alert System: Receive and respond to SOS alerts from residents
- Live Monitoring: View expected visitors and current visitors inside the society
- Photo Capture: Capture visitor photos at entry for security records
Vendor & Staff Features
For service providers and society staff assigned to maintenance jobs. Both roles access their features through the unified Societify Mobile app.
🔧 Vendor Features (4 Screens)
- Job Board: View assigned maintenance tickets
- Accept/Decline Jobs: Review and accept job assignments
- Status Updates: Mark jobs as "In Progress" or "Resolved"
- Completion Confirmation: Submit work completion with photos
- Payment History: Track payments and completed jobs
- Total Earnings: View earnings summary and payment status
🧑🔧 Staff Features (5 Screens)
- Assigned Tickets View: See all tickets assigned to you
- Filter by Status/Priority: Organize tickets efficiently
- Update Ticket Status: Mark tickets as "In Progress" or "Resolved"
- Add Resolution Comments: Provide updates and notes
- Daily Activity Logging: Track daily work activities
- Report Submission: Submit work reports with photos
- Past Reports View: Access historical work reports
Collector Features (5 Screens)
For door-to-door payment collectors. Collectors access these features through the unified Societify Mobile app.
Key Features
- Today's Collections Overview: Quick view of daily collection summary
- Pending Bills in Assigned Area: View list of flats with pending dues
- Collect Payment: Accept payments via Cash or UPI
- Mark Bills as Collected: Update bill status after collection
- Generate Receipt: Generate digital receipts instantly for residents
- Collection History: Complete history of all collections
- Wallet Balance & Transactions: Track wallet balance and all transactions
- Cash Remittance Tracking: Record cash remittances to society
- Commission/Earnings View: View commission and total earnings
Features Overview
Societify is a comprehensive SaaS platform with extensive features for managing residential communities. Below is a complete overview of all available features.
Platform Statistics
SaaS & Multi-Tenancy Features
Societify is built as a true multi-tenant SaaS platform, allowing you to manage unlimited societies from a single installation.
Multi-Tenancy Architecture
- Unlimited Societies: Manage multiple societies from a single Super Admin dashboard
- Data Isolation: Complete data security and isolation between societies
- White-Label Ready: Custom branding for each society
- Subscription-Based: Flexible subscription plans for each society
Subscription Management
- Multiple Plans: Free, Basic, Premium, Enterprise tiers
- Plan Features: Max units, facilities, storage, support levels
- Flexible Billing: Monthly, Quarterly, Annually
- Platform Fee Configuration: Customizable platform fees
- Society Approval Workflow: Approve/reject society registrations
- Suspension Management: Suspend/reactivate society accounts
- Platform Analytics: Platform-wide analytics dashboard
Billing & Payment Features
Comprehensive automated billing system with multiple payment gateway integrations.
Automated Billing System
- Auto Bill Generation: Recurring cycles with automatic generation
- Multiple Charge Heads:
- Maintenance charges
- Water supply charges
- Electricity common charges
- Generator charges
- Parking charges
- Lift maintenance
- Security charges
- Sinking fund contribution
- Bill Cycles: Monthly, Quarterly, Bi-Annual, Annual
- Auto-Generate on Specific Day: Schedule bills to generate automatically
- Penalty Calculation: Automatic late payment penalties
- Interest on Delayed Payments: Configurable interest rates
- GST/Tax Support: Built-in tax calculation
- Invoice PDF Generation: Professional PDF invoices
- Partial Payment Support: Accept partial payments
- Bulk Bill Approval: Approve multiple bills at once
Payment Gateway Integration
✅ Razorpay
Fully integrated with Razorpay for seamless payments
✅ Stripe
International payment processing support
✅ PayPal
Global payment gateway integration
Collector Management
- Collector Wallet System: Digital wallet for collectors
- Cash/UPI Collection Tracking: Track all collection methods
- Collection Remittance: Remit collections to society
- Commission/Incentive Tracking: Automatic commission calculation
- Daily Collection Reports: Detailed daily reports
- Building-wise Assignment: Assign collectors to specific buildings
Visitor Management Features
Comprehensive visitor security system with QR code-based entry/exit tracking.
Visitor Security System
- QR Code-based Entry/Exit: Secure QR code system for visitor entry
- Pre-approval by Residents: Residents can pre-approve visitors from mobile app
- Expected Visitor Scheduling: Schedule visitors in advance
- Walk-in Visitor Registration: Register unexpected visitors at gate
- Purpose Tracking: Guest, Delivery, Cab, Service categories
- Vehicle Number Recording: Track visitor vehicles
- Photo Capture at Entry: Security photo capture
- Real-time Notifications: Instant notifications to residents
- Digital Logs: Complete entry/exit history
Community Features
Engage residents with social features, announcements, and community building tools.
Announcement System
- Society-wide Announcements: Broadcast to all residents
- Building-specific Targeting: Target specific buildings
- Priority Levels: Normal, Important, Urgent
- Scheduled Announcements: Schedule future announcements
- Read Receipt Tracking: Track who has read announcements
- Acknowledgement Requests: Request acknowledgements
- Multi-channel Notifications: Push/Email/SMS/WhatsApp
- Attachment Support: Attach documents and images
Social Features
- Social Posts: Text, images, and videos
- Like and Comment System: Engage with community posts
- Community Groups/Forums: Create and join groups
- Resident Polls and Surveys: Conduct community polls
- Event Creation and RSVPs: Organize and manage events
- Lost & Found Posts: Community lost and found board
- Buy/Sell Marketplace: Community marketplace
- Content Moderation: Admin moderation tools
Emergency Alert System
- Panic Button: One-tap emergency alerts
- Real-time Alerts: Instant alerts to all guards
- Emergency Type Classification: Categorize emergency types
- Location Tracking: Share location with alerts
- Alert History: Complete emergency history
- Response Tracking: Track guard responses
Security Notes
Key security review fixes and platform hardening notes.
Razorpay webhook authentication (fixed)
- Endpoint:
POST /api/webhooks/razorpay - Verification:
X-Razorpay-Signature(HMAC-SHA256 over the raw request body) - Secret: database-driven
razorpay_webhook_secret - Where to configure: Society Admin → Settings → Payment, and Super Admin → Settings → Payments
OTP in API response (fixed)
- Policy: OTP is never returned in API responses.
- Local testing: OTP may be written to logs for development.
Payment secrets exposure (fixed)
- Client responses: never include payment gateway secret keys.
- Public keys only: clients receive only what is needed to initialize SDKs.
PayPal SDK (fixed)
- Updated: replaced the abandoned PayPal REST SDK with
paypal/paypal-server-sdk.
Folder Structure
Understanding the project structure.
app/Http/Controllers: Contains API and Web controllers.routes/api.php: API Routes for the mobile app and third-party integrations.routes/web.php: Web routes for the admin dashboard.resources/js: React frontend source files (Inertia.js).
Razorpay Integration
Backend API implementation details for Razorpay Facility Bookings.
1. Create Razorpay Order
Endpoint: POST /api/resident/facility-bookings/create-order
// Request Body
{
  "facility_id": 1,
  "slot_id": 2,
  "booking_date": "2025-12-10",
  "amount": 500
}
2. Verify Payment
Endpoint: POST /api/resident/facility-bookings/verify-payment
This endpoint verifies the signature returned by the Razorpay SDK and confirms the booking.
3. Webhook Handling
The system listens to Razorpay webhooks to handle async payment updates.
- URL:
https://your-domain.com/api/webhooks/razorpay - Events:
payment.captured,payment.failed - Security: verifies
X-Razorpay-Signaturebefore processing - Config: set
razorpay_webhook_secretin admin settings (database-driven)
4. Bulk Availability (Optimization)
Endpoint: GET /api/resident/facilities/{id}/availability
To prevent the "All Slots Green" bug, use this endpoint to fetch booking counts/availability efficiently.
// Response
{
    "success": true,
    "data": {
        "2025-12-07": "full",
        "2025-12-08": "partial",
        "2025-12-09": "available"
    }
}